
Devil’s Thumb, first ascended by Lake Louise pioneering mountaineer S. E. S. Allen in 1892, is today a popular and challenging Lake Louise scramble that is regularly climbed by both locals and visitors to Banff. If you’ve been up to Lake Agnes you’ve seen it for yourself. From that angle it looks like a near-vertical column of rock protruding out at the other end of the lake.
Fortunately it’s not quite as difficult to ascend as it looks, but the route up Devil’s Thumb is steep and not for the unprepared or the inexperienced. Despite what its frequent usage might suggest, it is not an official trail and is not maintained by Parks Canada. Expect super steep gravelly slopes and some scrambling.
Scrambling: a mountaineering term for ascending steep terrain using one’s hands to assist in holds and balance. It is also used to describe terrain that falls between hiking and rock climbing.
The trail for Devil’s Thumb starts by leading up past Mirror Lake to Lake Agnes and the iconic Lake Agnes Teahouse. After circling around alongside the lake, the trail switchbacks up to near the top of Big Beehive. From here it’s possible to take the short detour to the viewpoint on top of Big Beehive either on the way up to Devil’s Thumb or on the way back down.
From here the unofficial and unmaintained trail starts, winding around the side of Devil’s Thumb before reaching a steep gully that it follows straight up. The gully is gravelly and loose, and appropriate footwear is a must. Hiking poles are highly recommended as well.
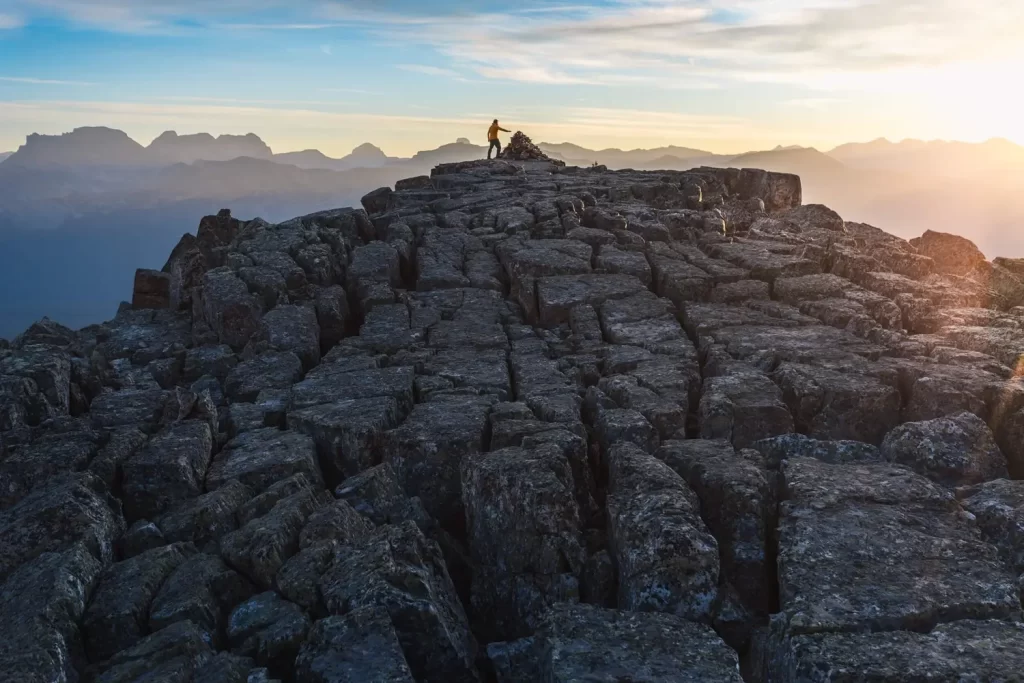
At the top of Devil’s Thumb are some of the most iconic and most magnificent views in the Lake Louise area that one can get, and the feeling of accomplishment for having made it to the top can’t be understated. Views from Devil’s Thumb extend over both Lake Agnes and Lake Louise, and offer stunning panoramic views of the mountains and glaciers in every direction.
Continue reading this blog post for everything you need to know to experience the Big Beehive hike near Lake Louise in Banff for yourself, including distance, elevation gain, how to get there, the best time to visit, and lots of photos of my experience.

Note: The Devil’s Thumb hike is located in Banff National Park, meaning that a valid park pass is required. Day passes can be purchased at the park gates and are per day per person, but if you’re staying a week or longer, it’s more cost-effective to just buy an annual pass instead.
Before visiting Banff National Park it’s essential to read up on the Parks Canada rules that must be followed to avoid tickets and/or fines. When hiking it’s important to avoid harmful practices such as disturbing plants or rock-stacking, or removing any natural object from flowers to rocks, as it’s important to leave the environment as natural as possible for the animals and for fellow hikers to enjoy in perpetuity. As many flowers as there are, there are few enough that if we all took one, then there wouldn’t be any left. If you’re after a souvenir to take home with you, there are tons of gift shops in the Banff townsite to check out. Otherwise take only photos, leave only footprints.
If you haven’t heard of Leave No Trace principles, they’re also really essential to read up on before heading anywhere into the outdoors in general. Following these important principles basically means doing your best to leave beautiful places like Devil’s Thumb as good (if not better) than you found them, both for their preservation and for the enjoyment of other visitors.
Devil’s Thumb Round Trip Details
Distance: 14.2 KM / 8.8 MI
Elevation Gain: 834 M / 2736 FT
Hiking Time: 4-5 HRS
Hiking & Safety Tips
- Prepare for the possibility of wildlife encounters. Bear spray is a must whenever travelling in bear country, as well as learning how to use it. Though your chance of an aggressive bear encounter is low, it is always better to be prepared with bear spray. Bear bells are proven to be an ineffective bear deterrent, and are actively discouraged by Parks Canada. The best way to let bears know you’re around is simply to use your voice. Make sure to keep a respectful distance from wildlife and never feed the animals. It may seem kind but it doesn’t just kill wildlife and put people in danger, it’s also illegal.
- Research current trail conditions and make sure you are well-informed about the route before you leave, and assess if it is within your capability. Be aware of what time it gets dark and check the weather forecast. Make sure to tell someone where you’re going and when you expect to return. Every year as more and more people try hiking for the first time, the number of rescues goes up. Being prepared is the best defense.
- Pack everything you need for a successful hike, including enough water and energy-rich snacks. Remember to pack out everything you pack in though – don’t expect to find a convenient garbage can halfway up the trail. Bring appropriate layers (remember you’ll warm up once you start hiking) and sun protection. Hiking poles may be helpful but are not required. Inaddition to not leaving any garbage on the trail yourself, I highly recommend bringing a garbage bag and collecting any trash that you do see on the trail. You’re guaranteed to make the scramble up Devil’s Thumb a more enjoyable experience for the next person.
How to Get to Devil’s Thumb Trailhead
Lake Louise is one of the most beautiful places in Banff National Park, and as a result it is also one of the most popular. Which is to say – parking is a hassle. In order to secure a spot at the Lake Louise parking lot, it’s best to arrive in the morning (before 8 AM) or late in the afternoon. Arrive in the middle of the day and there’s a good chance that the parking lot will be full. Parking at Lake Louise costs $36.75 per day per vehicle. In order to alleve pressure from the busy parking lot, an $8 per person shuttle bus runs from the Lake Louise Park and Ride to the lake. If you want to take the shuttle, you must book in advance. As well, Roam Transit busses regularly run between Banff and Lake Louise in the summer. All Lake Louise hikes start directly from the parking lot.
Click here to open the exact trailhead location in Google Maps.
Hiking Devil’s Thumb

Walking counterclockwise around beautiful Lake Louise.
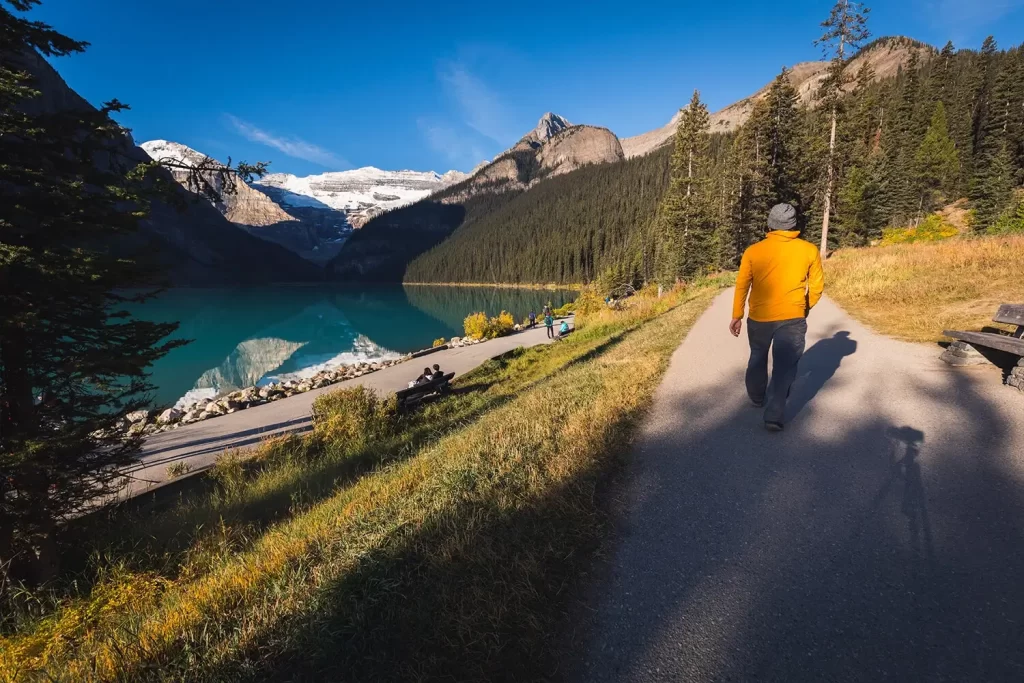
The lower trail continues alongside the perimeter of Lake Louise, but we’re heading up.
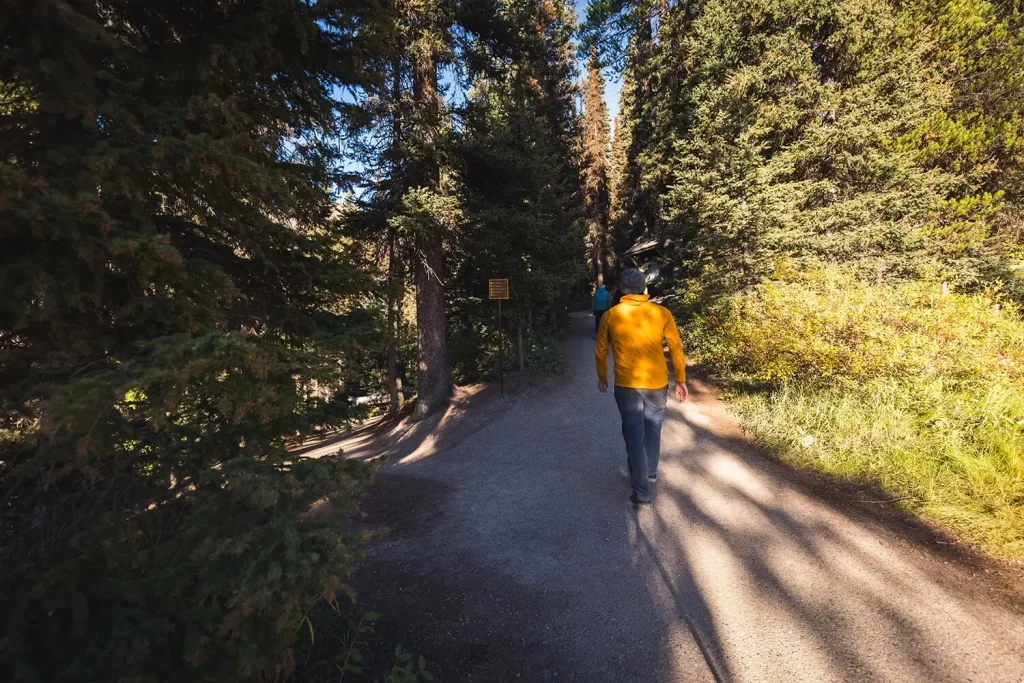
Heading uphill. The trail is well signed all the way.
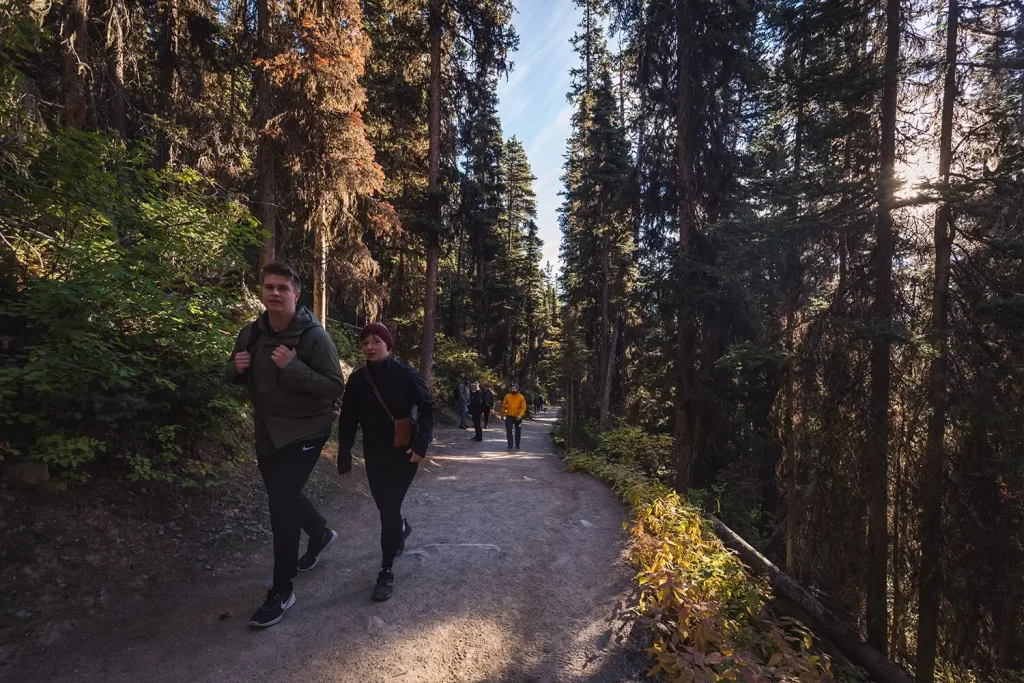
The long boring uphill alongside Lake Louise. The blue of the lake can be glimpsed through the trees but no real views.
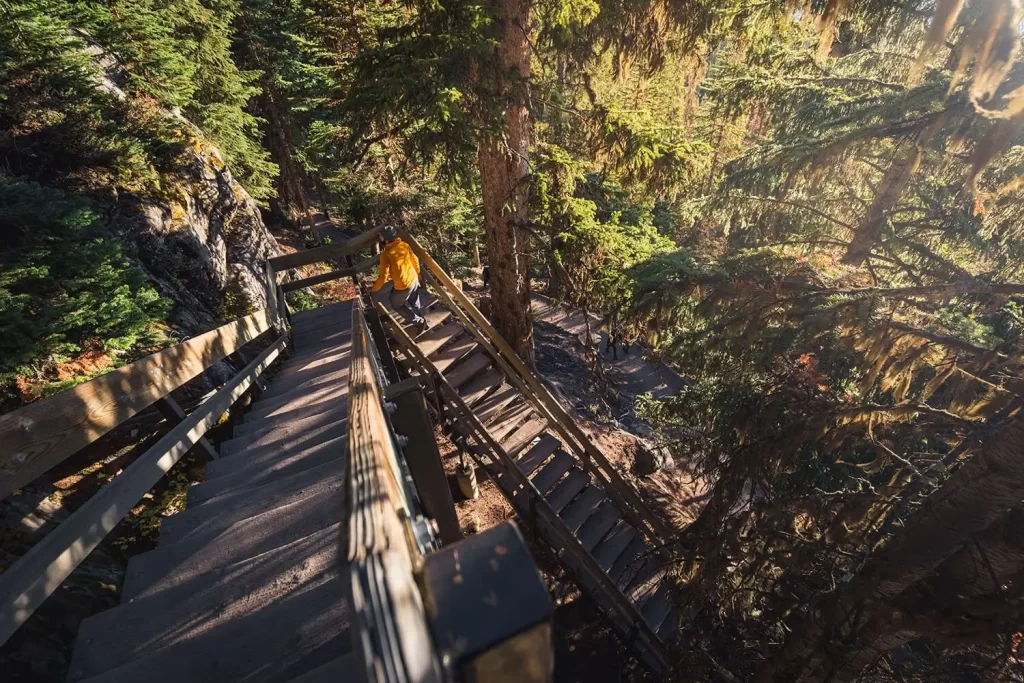
The first switchback is also the first real glimpse of Lake Louise so it’s a bit of a busy spot. The trail has had to be reinforced due to damage from people shortcutting, so make sure to stay on the trail.
Switchbacking up through the forest.
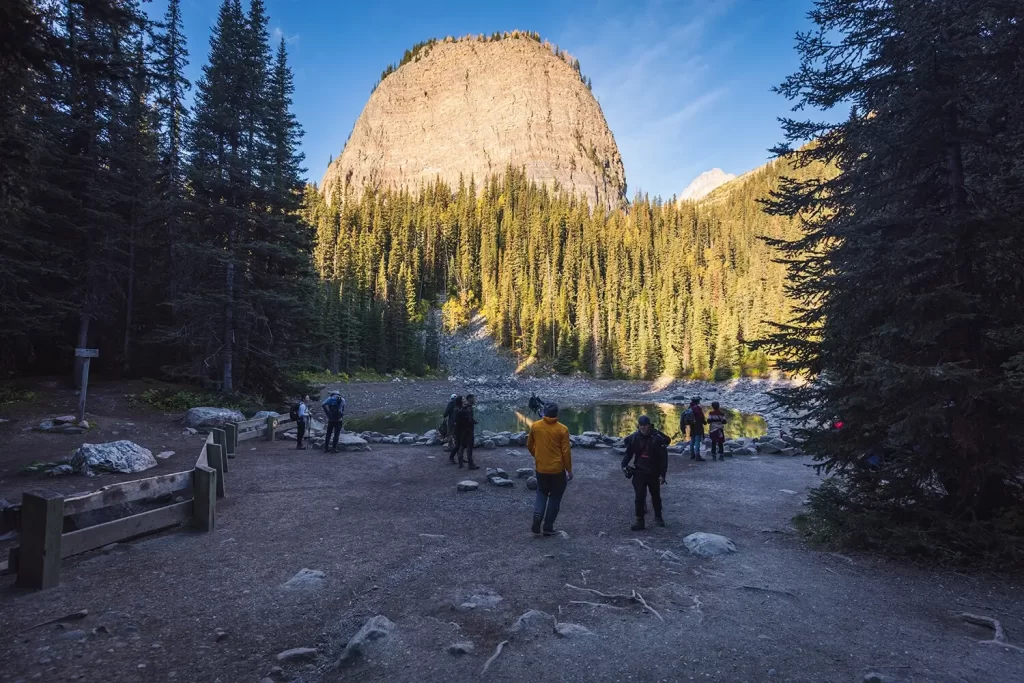
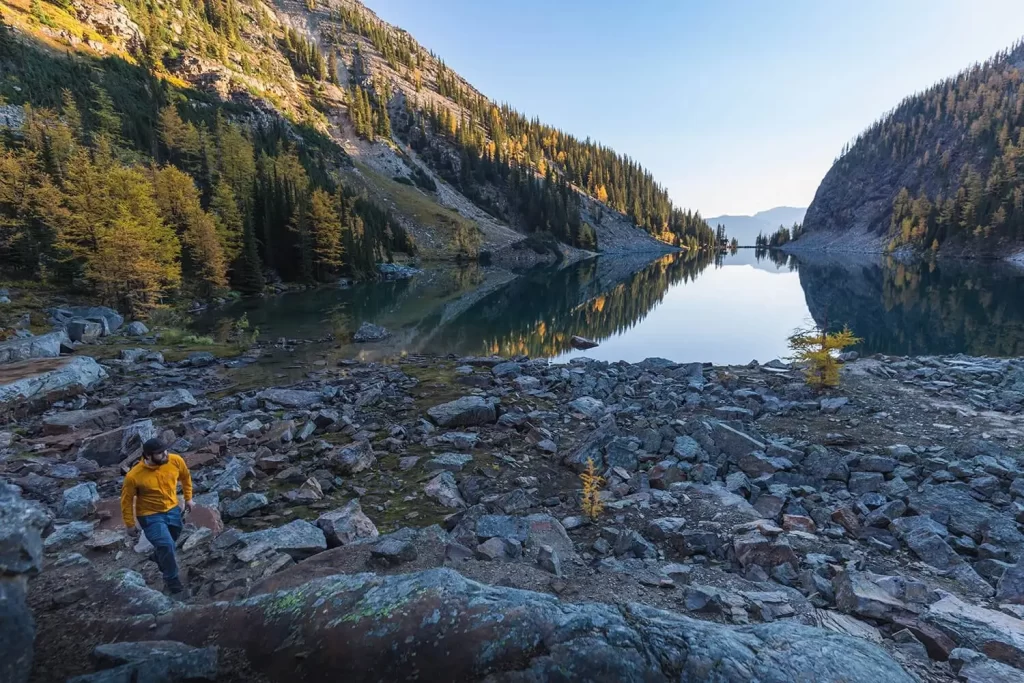
Mirror Lake, with Big Beehive behind it, makes a great stop along the way.
Another example of the lasting impact of selfish hikers choosing to “shortcut” instead of staying on the trail. It will be a long long time until anything grows here again. Stay on the trail.
Switchbacking up around Big Beehive. It looks quite imposing from here.
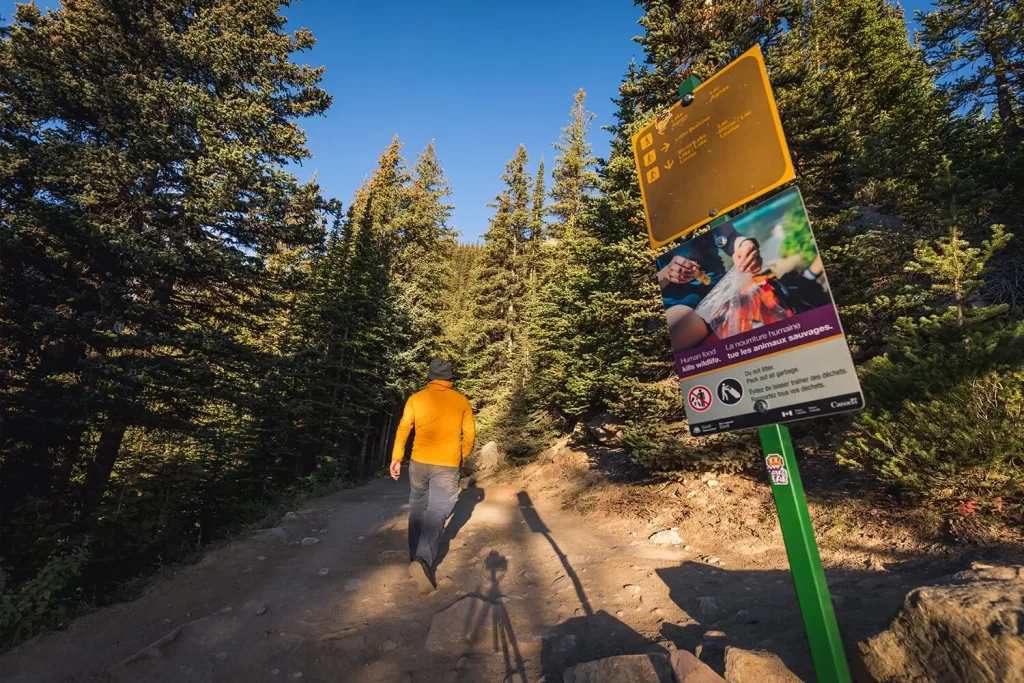
Continuing straight past a right turn for Little Beehive, another fantastic Lake Louise hike.
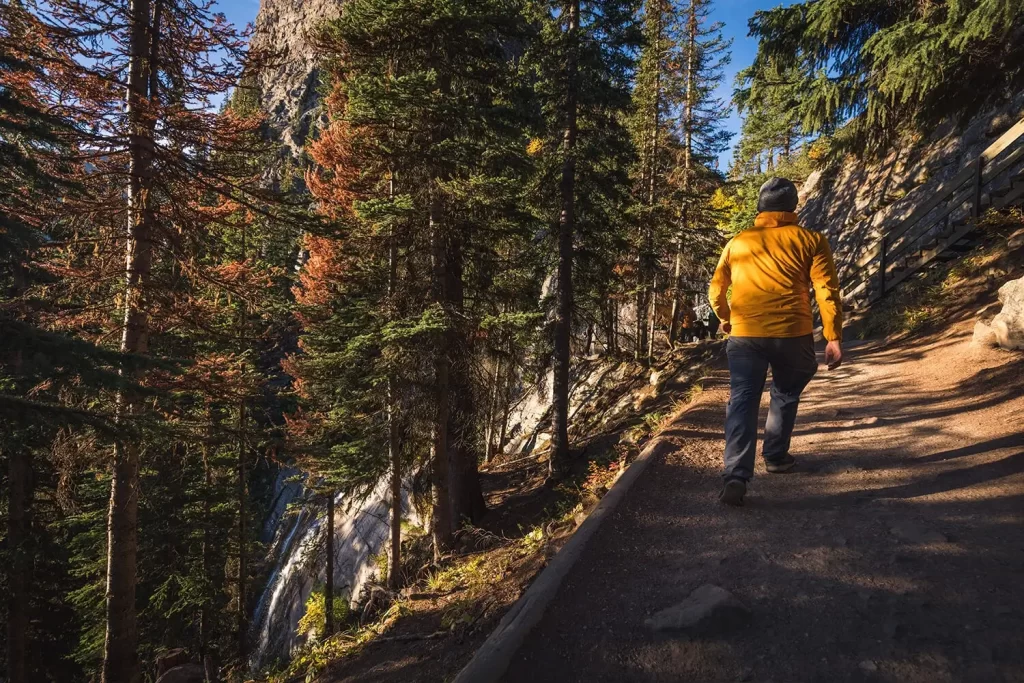
Views of a waterfall just before Lake Agnes.
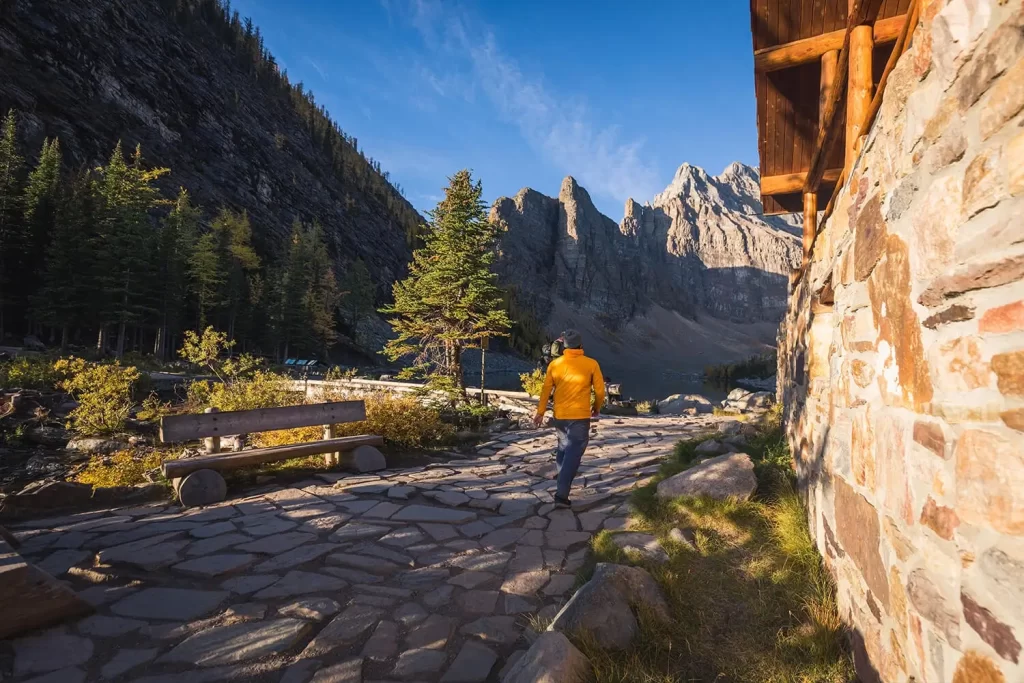
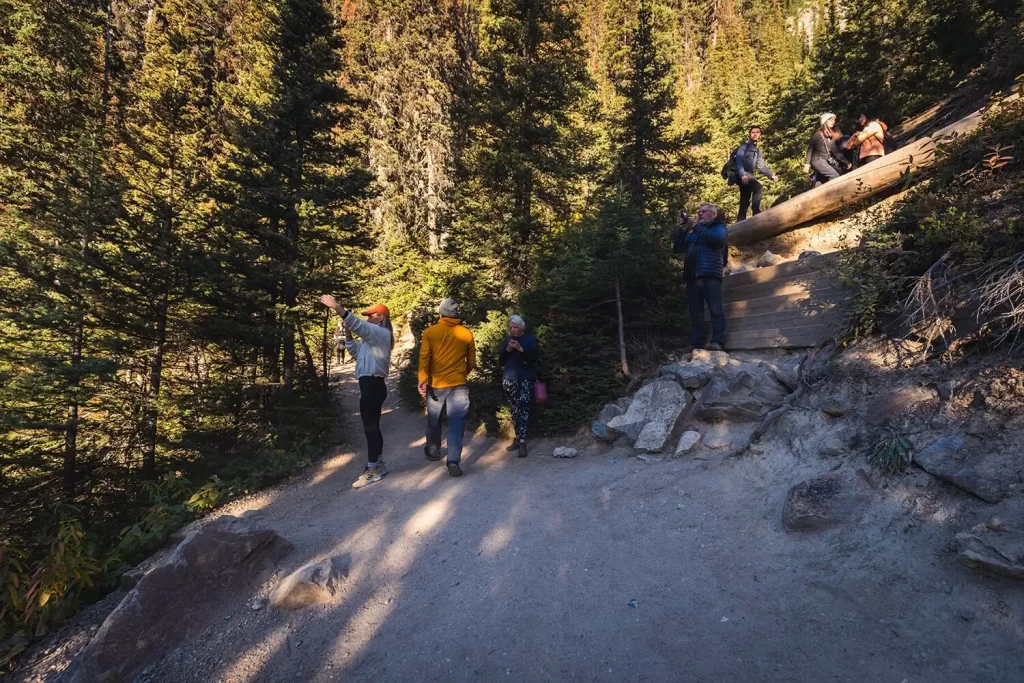
Passing the iconic Lake Agnes Teahouse and continuing counterclockwise around the lake with Devil’s Thumb rising up behind.. The Lake Agnes Teahouse has no garbage bins. I’ve seen dozens of tourists carrying Starbucks cups up this hike. Make sure that any waste that you carry up, or anything that you buy from the teahouse, you are prepared to carry down yourself. Conveniently, the teahouse does have a couple of outhouses that, despite extensive signage, selfish idiots frequently use as garbages – throwing plastic bottles and wrappers down. Obviously these things don’t biodegrade, meaning that the teahouse workers are forced to fish out whatever garbage you throw down there. Have some human decency and don’t do this.
As soon as you pass the teahouse, most other hikers and tourists are left behind. This section of trail around Lake Agnes is my favourite. Listen for the squeaking of pikas living in the rocks plus you might even see one if you look closely enough.
Views of the distant hubbub at the teahouse on the other side of the lake. It’s far more peaceful here.
After rounding the lake the trail starts endlessly switchbacking up the side of Big Beehive. You can see the trail next to the lake from here if you look closely.
Some sections are a bit degraded so stay on the trail and step carefully.
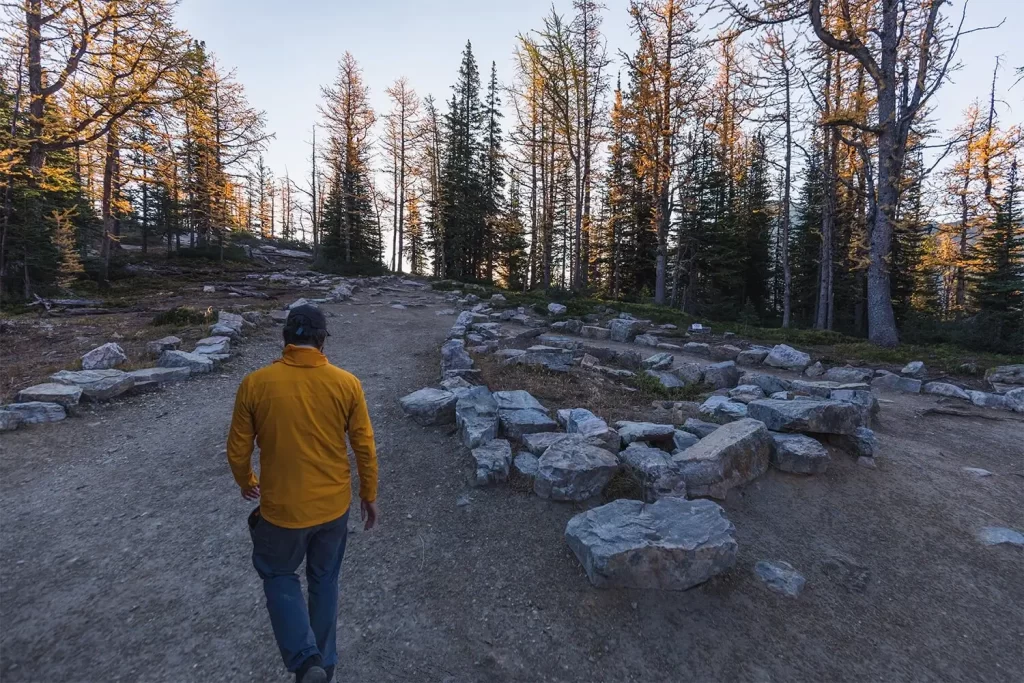
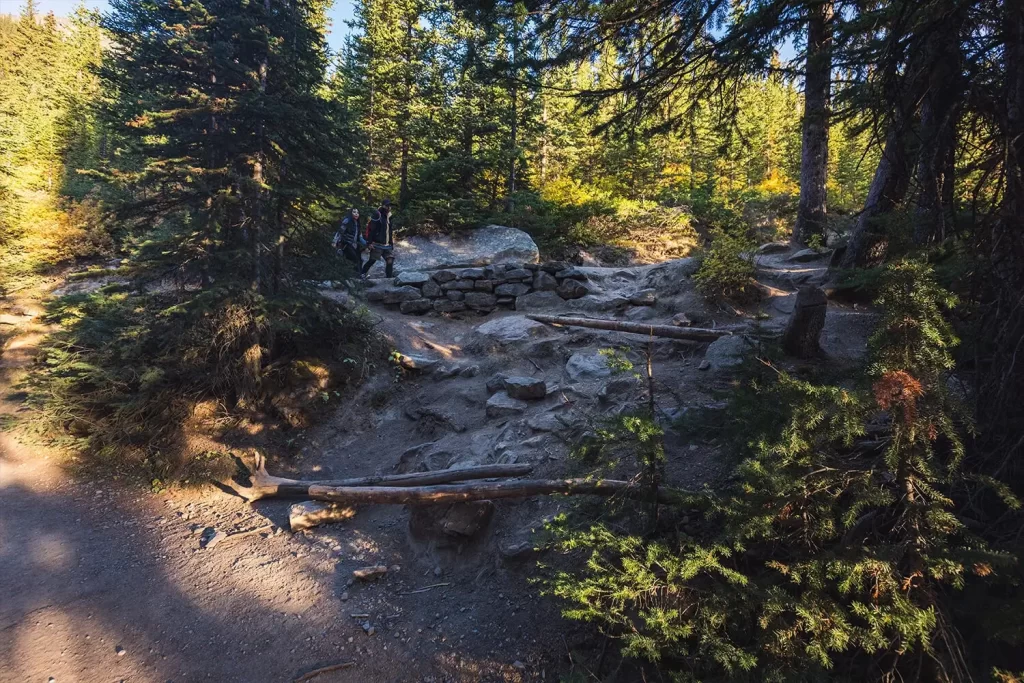
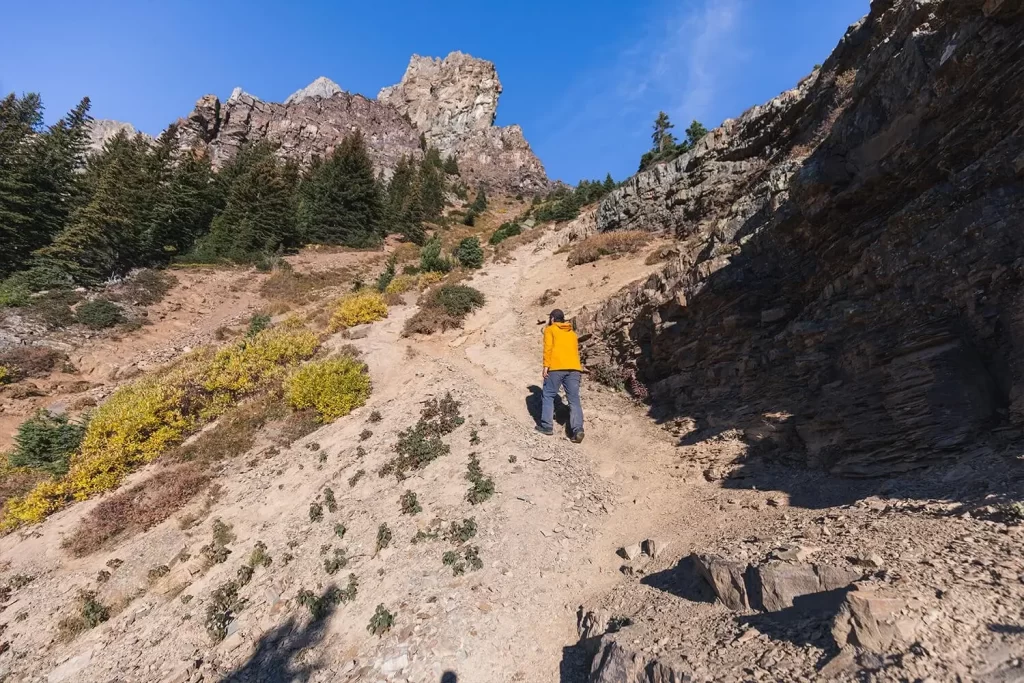
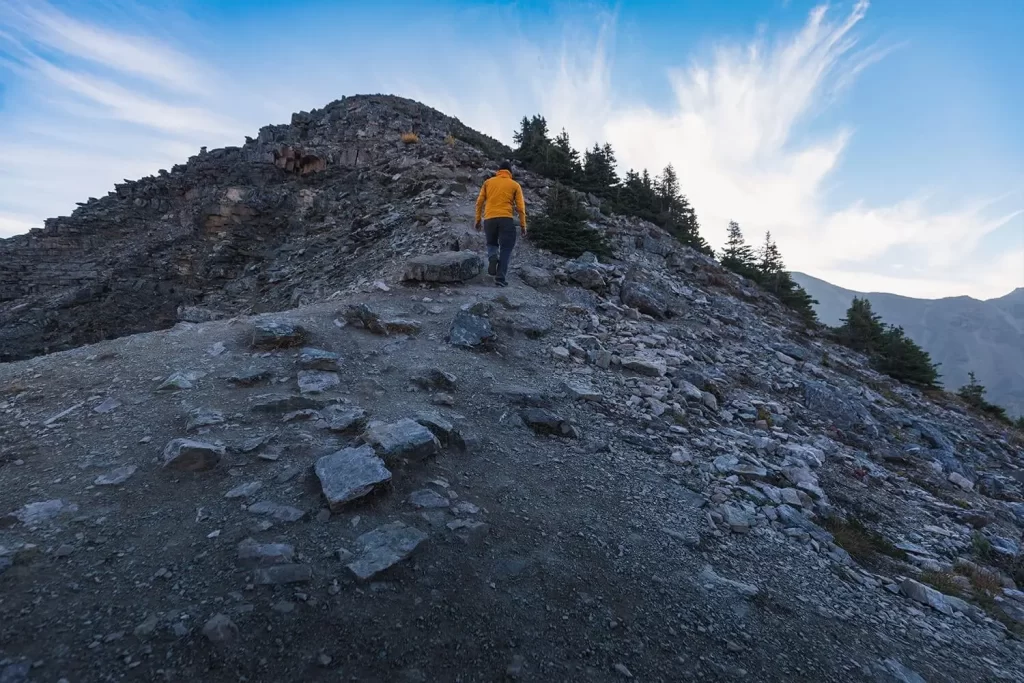
A million switchbacks later and finally at the top of the ridge. Turn right here to start heading up towards Devil’s Thumb or head left to take the detour to the top of Big Beehive while you’re here.
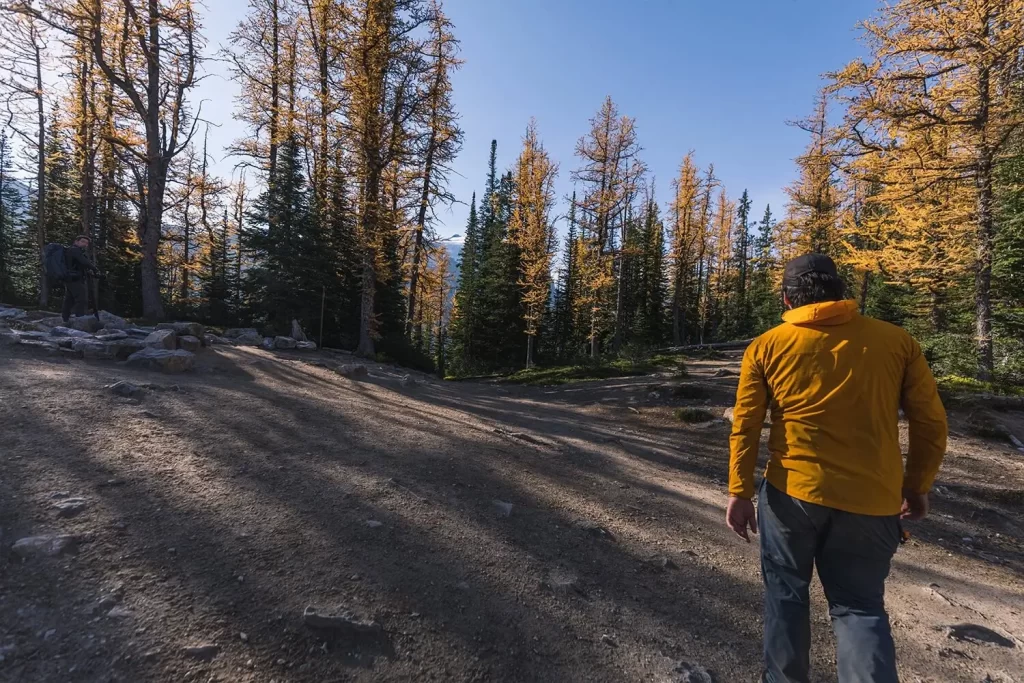
Heading right.
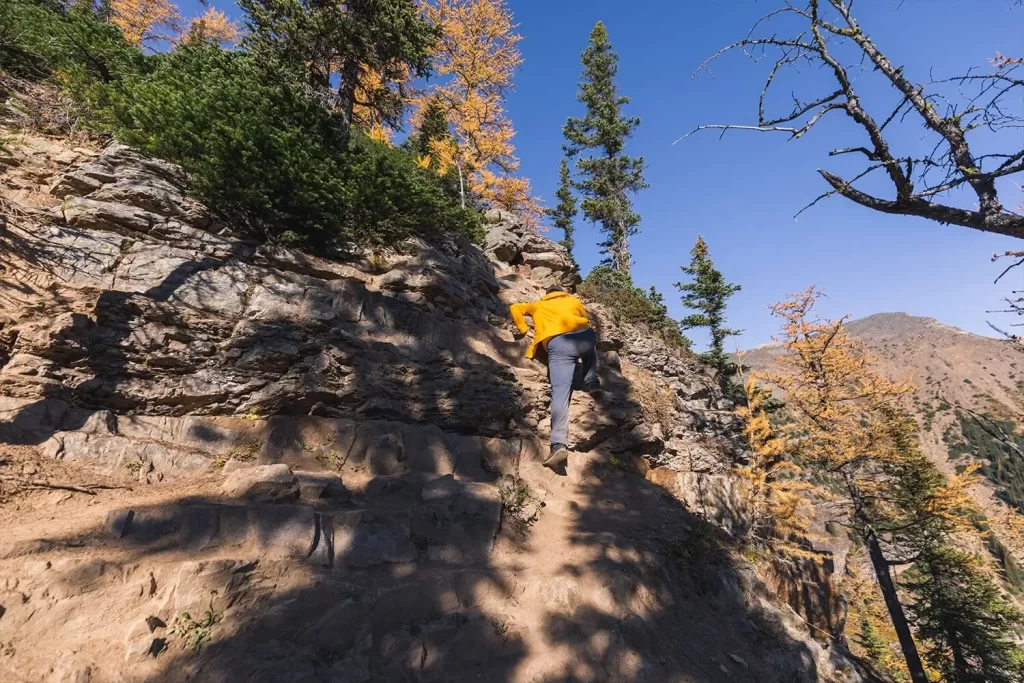
Some fun easy scrambling up a short cliff band.
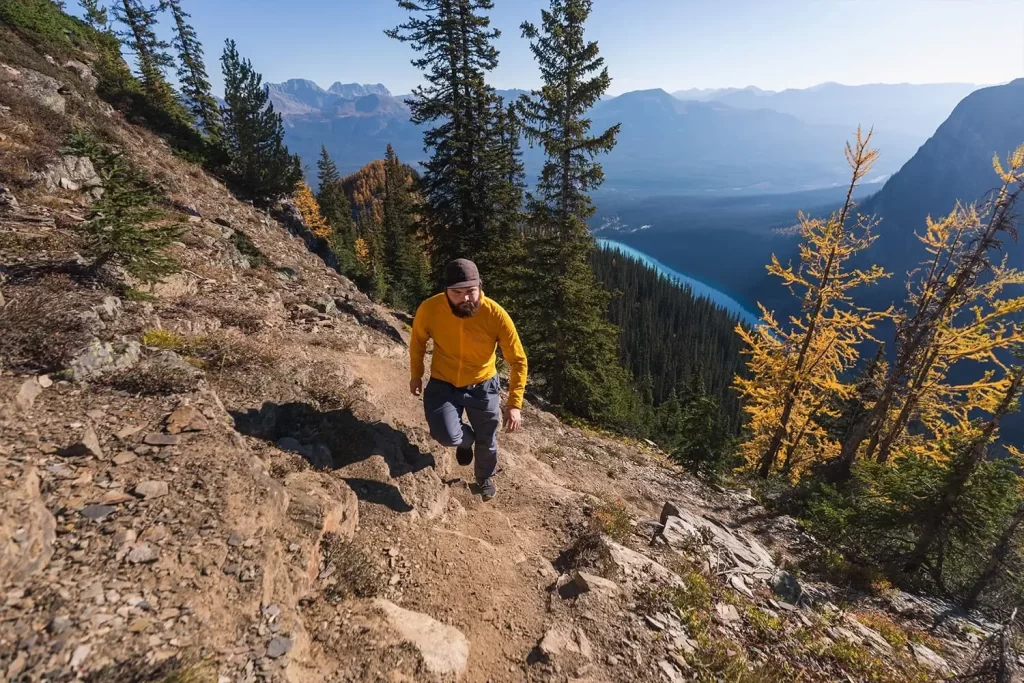
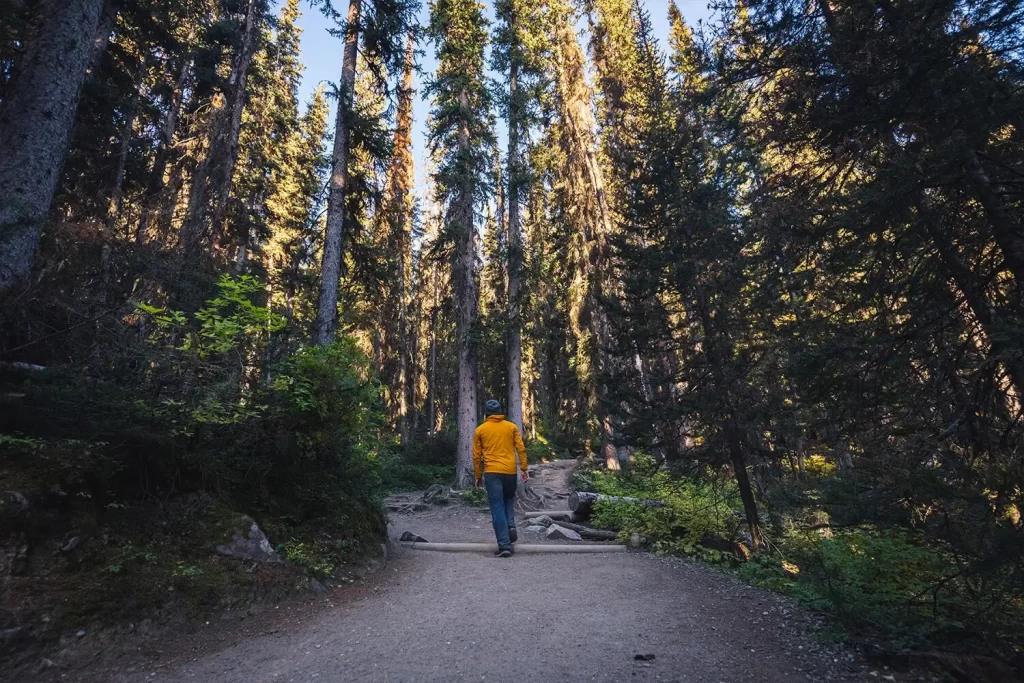
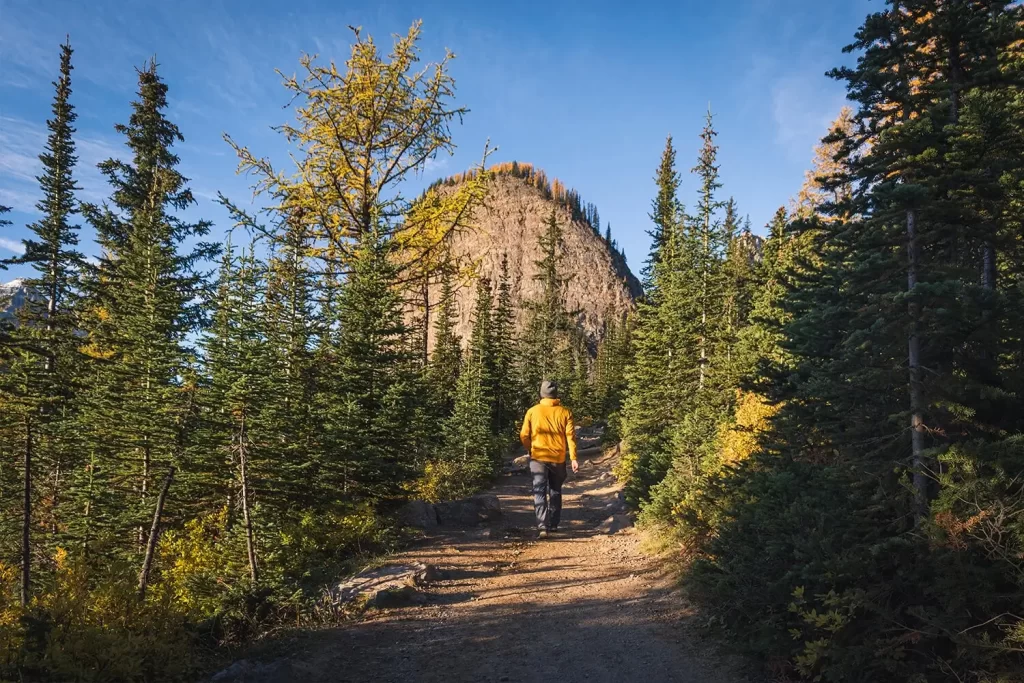
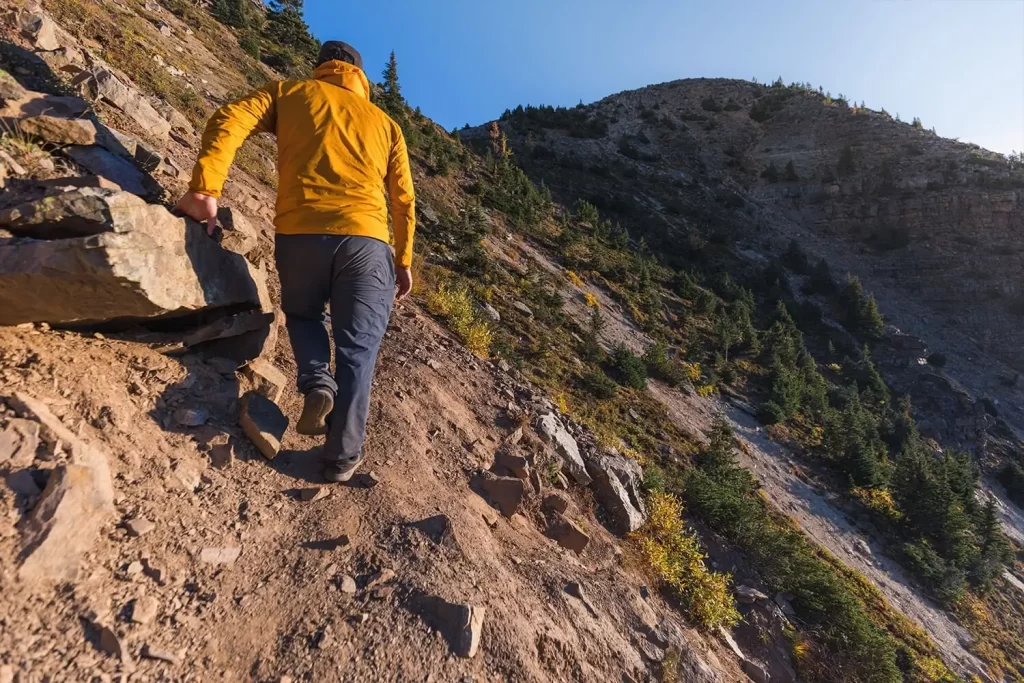
The trail heads up through the woods hugging the side of the mountain as it makes its way around.
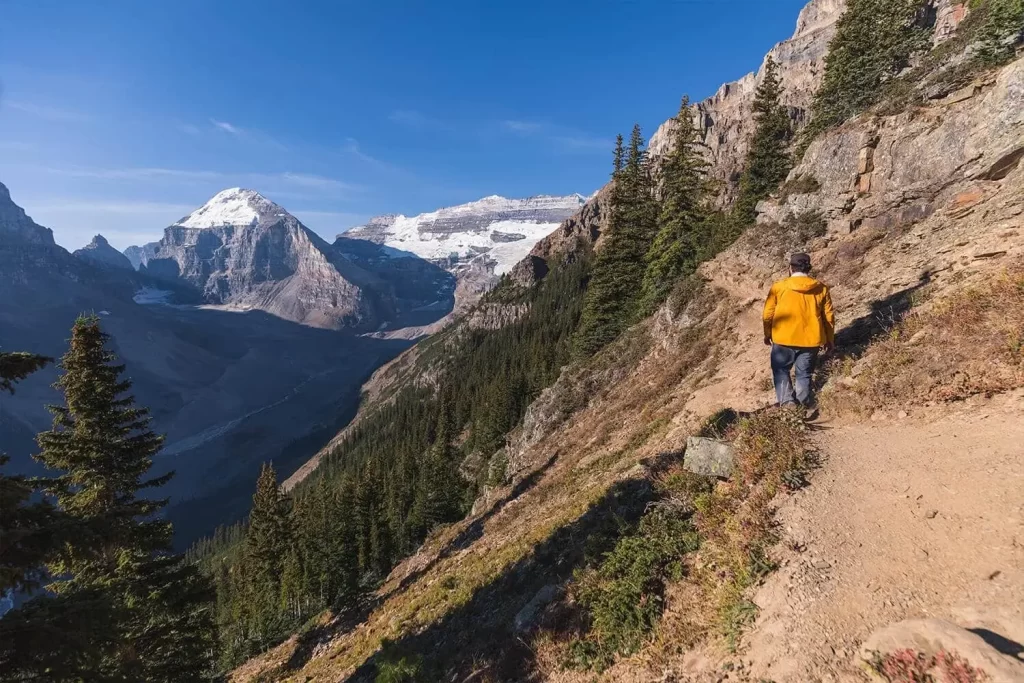
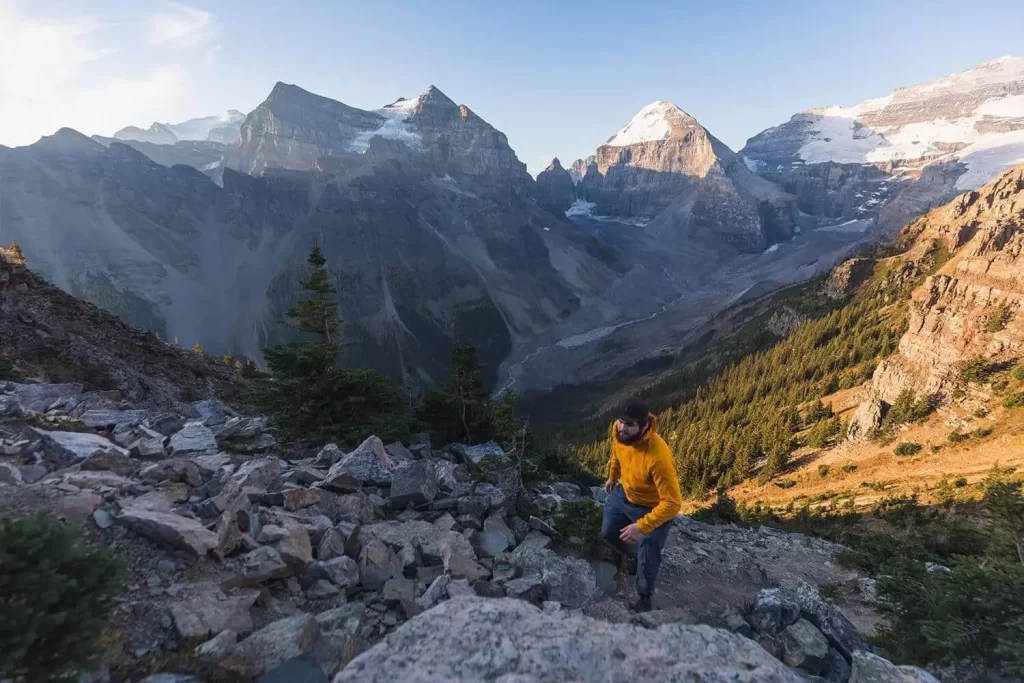
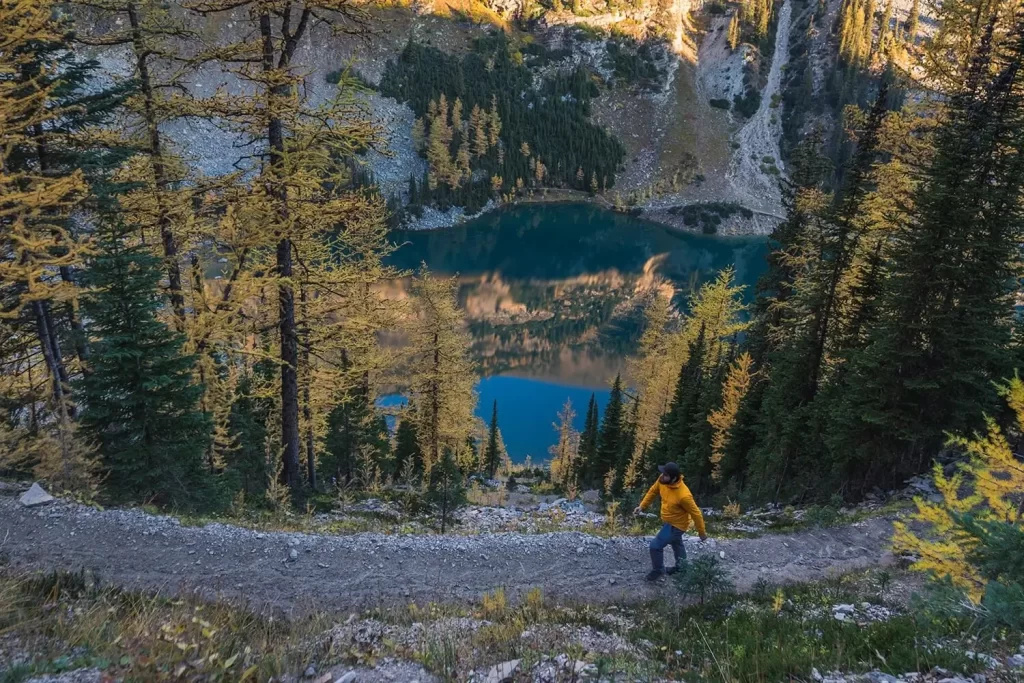
Incredible views into the valley below include Mt Lefroy and Mt Victoria.
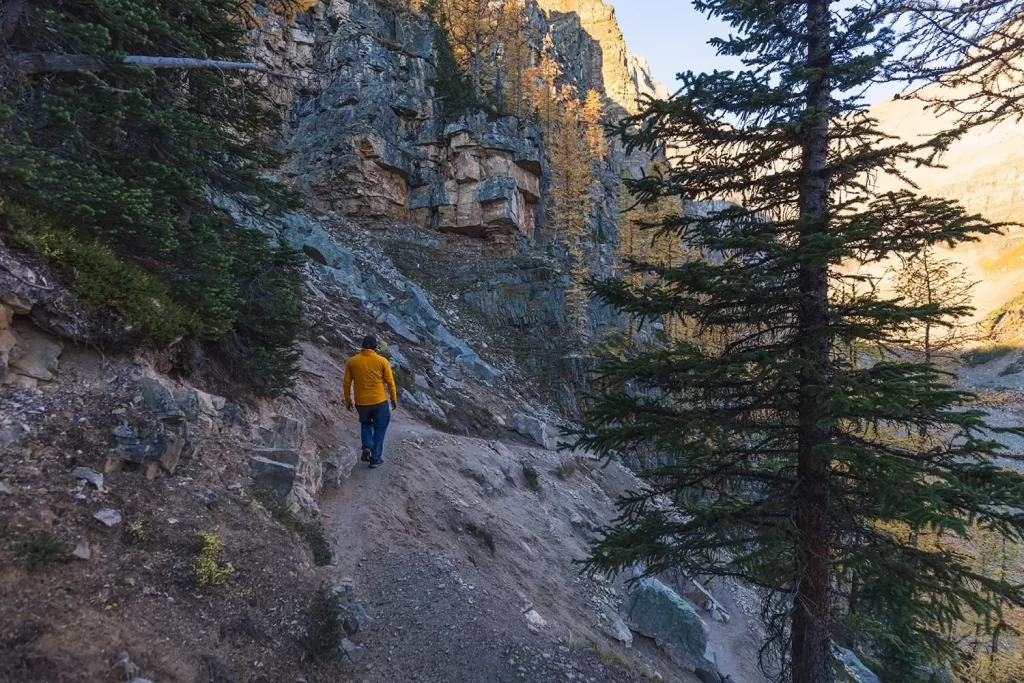
The trail hugging the side of the mountain eventually reaches a gully which it follows straight up. This area is incredibly steep and gravelly, so appropriate footwear is required and hiking poles are highly recommended.
Approaching the saddle at the top of the gully. Devil’s Thumb is on the right.
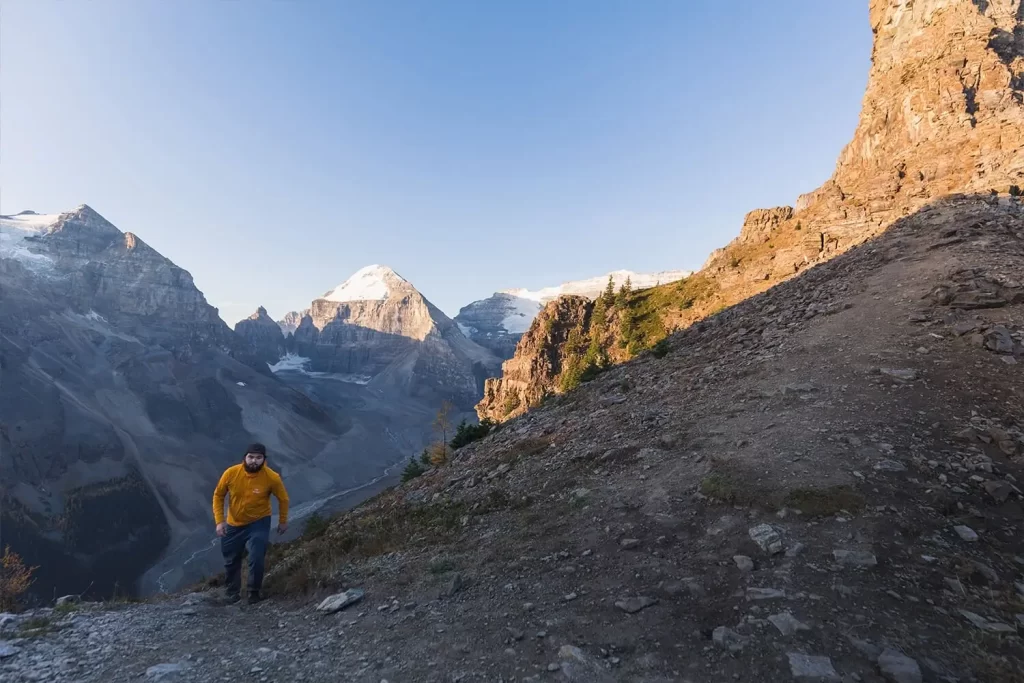
On the saddle.
Heading up towards Devil’s Thumb. There is a trail here but it’s easy to lose among the boulders on the way up, so I ended up scrambling up the boulders a little.
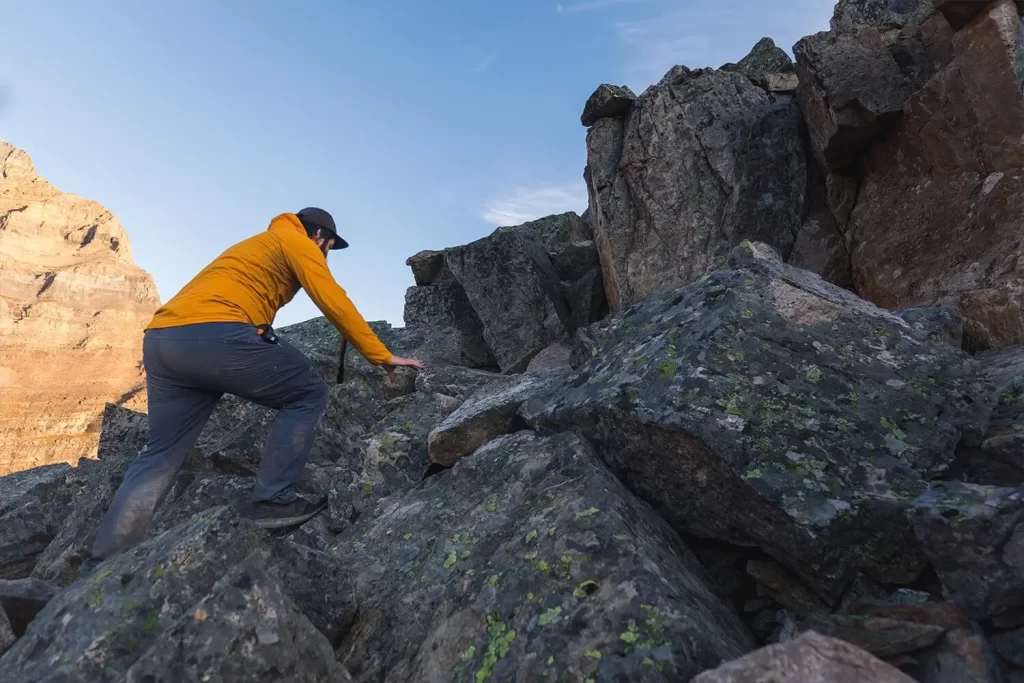
Fun scrambling.
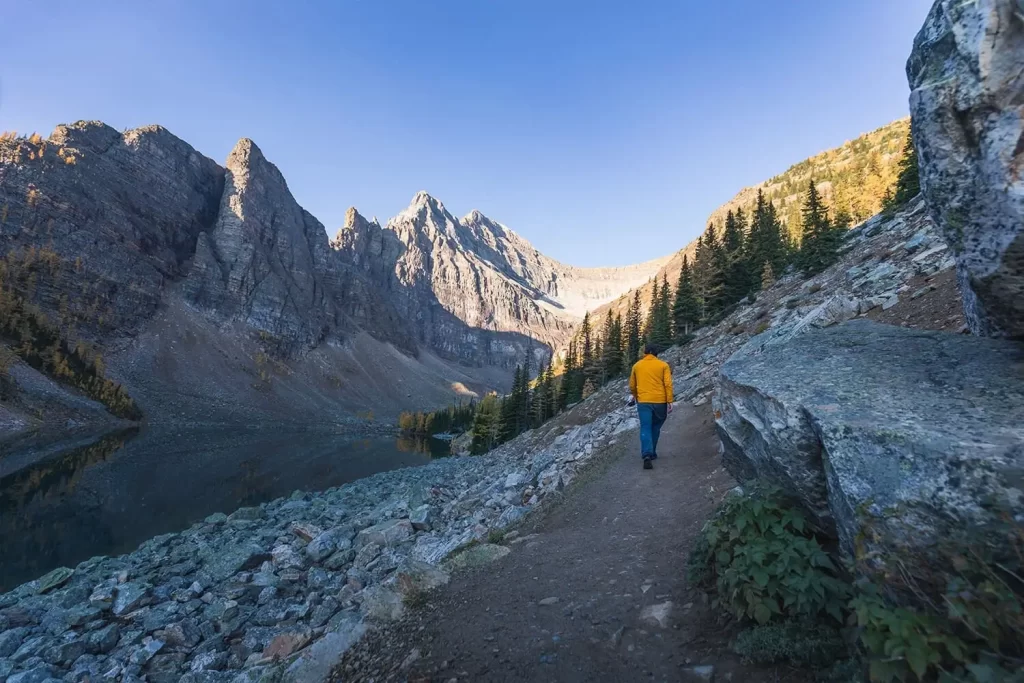
Almost near the top of Devil’s Thumb, and the views into the valley are like nothing else.
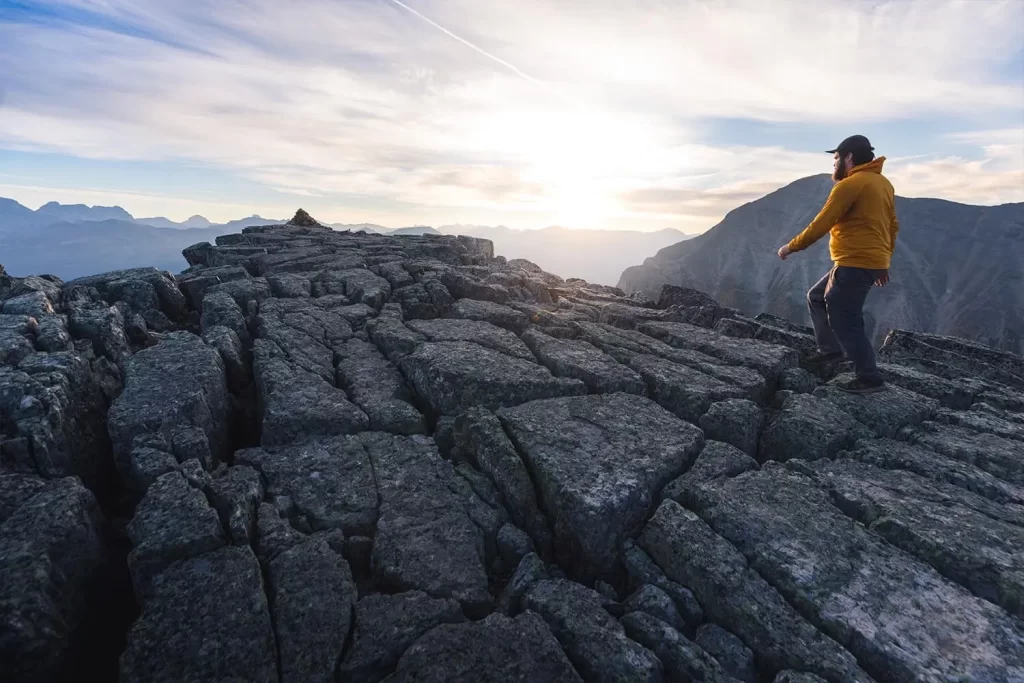
Approaching the summit cairn of Devil’s Thumb
Recommended Hiking Gear
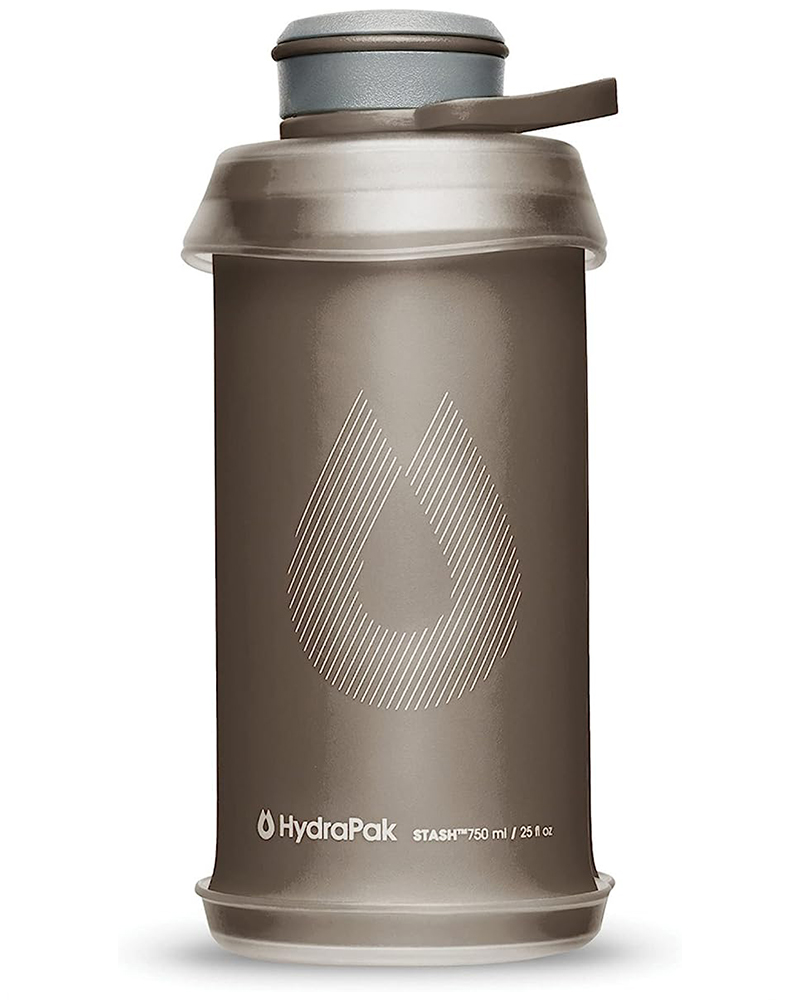
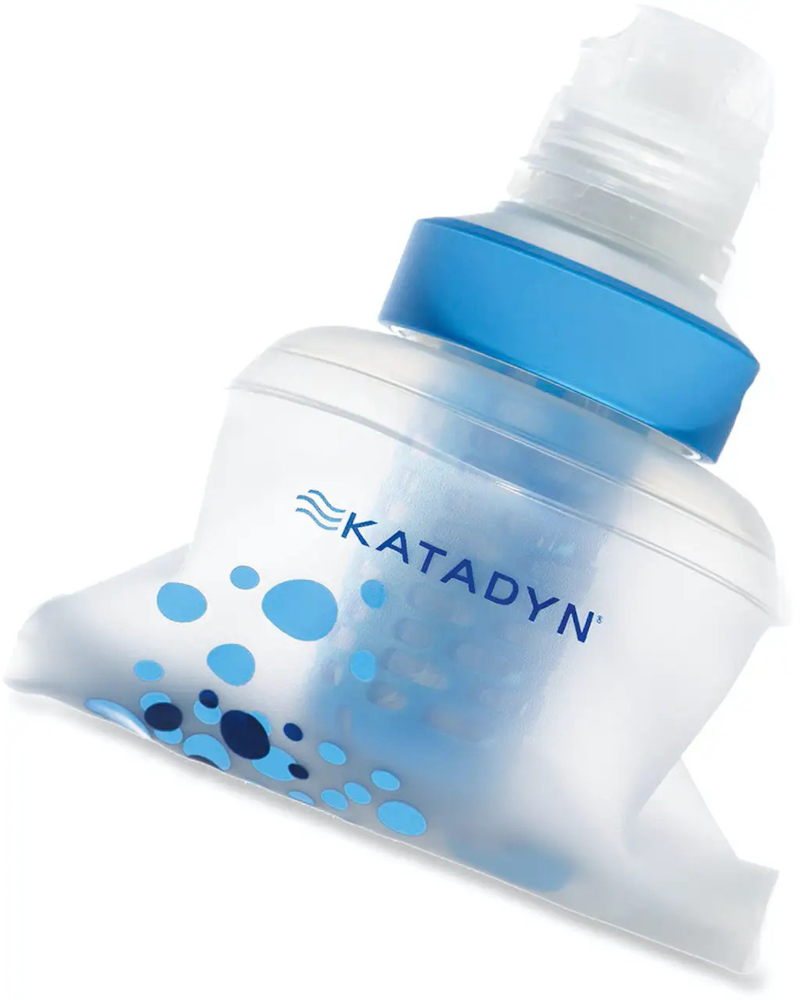
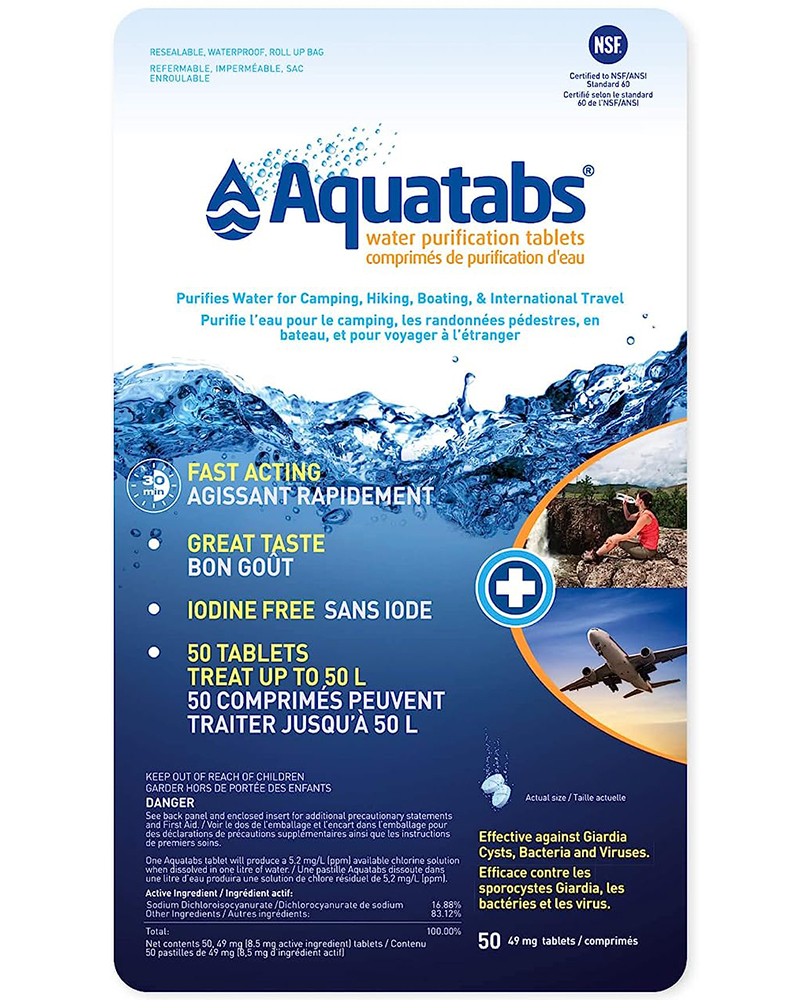
Water is a must whenever I’m hiking, especially if the sun is going to be out. My favourite water filter I’ve used is the Katadyn BeFree 0.6L, which unlike other water filters I’ve used packs up really small and lightweight. For hikes where I know there won’t be any readily available water sources along the way, I make sure to bring my own. The Hydrapak Stow 1L bottle is my go-to, for the same reason that it’s made of a soft plastic that folds up and doesn’t take up any more extra space than necessary in my pack. Finally, Aquatabs are another great option for purifying water, with one tablet being suitable for one litre of water. I previously used the Grayl water filter while travelling internationally, and though I found its hard body more convenient for day to day use and easier to drink from, it has a little too much bulk for my fast-and-light style of hiking.
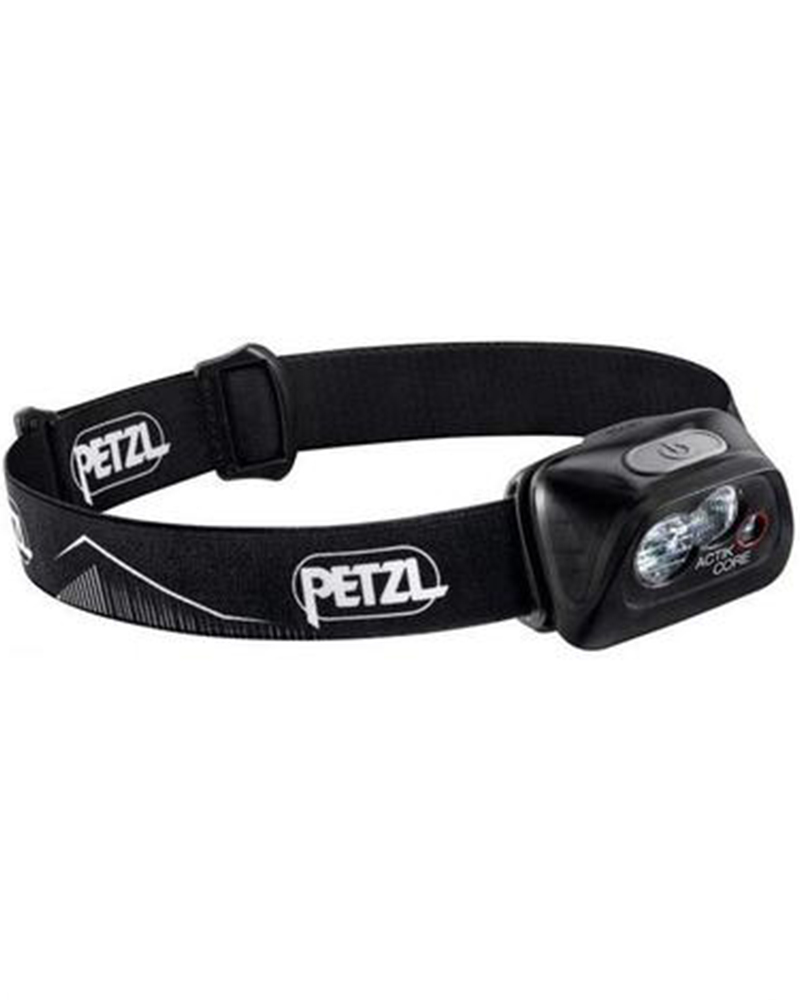

The secret to all my photos of gorgeous sunset and sunrise mountaintop views? A lot of hiking in the dark. And let me speak from personal experience when I say that the last thing that you want to happen when hiking is to be caught in the dark without a headlamp. I used the Black Diamond Spot 400 for years and it worked great – until I lost it on top of a mountain somewhere. The only downside to it was having to worry about the batteries dying, though there’s also a slightly more expensive version that has a rechargeable battery. Nowadays I’m using the Petzl Actik Core, which is a bit pricier than the more budget-friendly Black Diamond, but is also brighter, more comfortable (in my opinion), and has a hybrid power system that is rechargeable but can also take AAA batteries if needed.
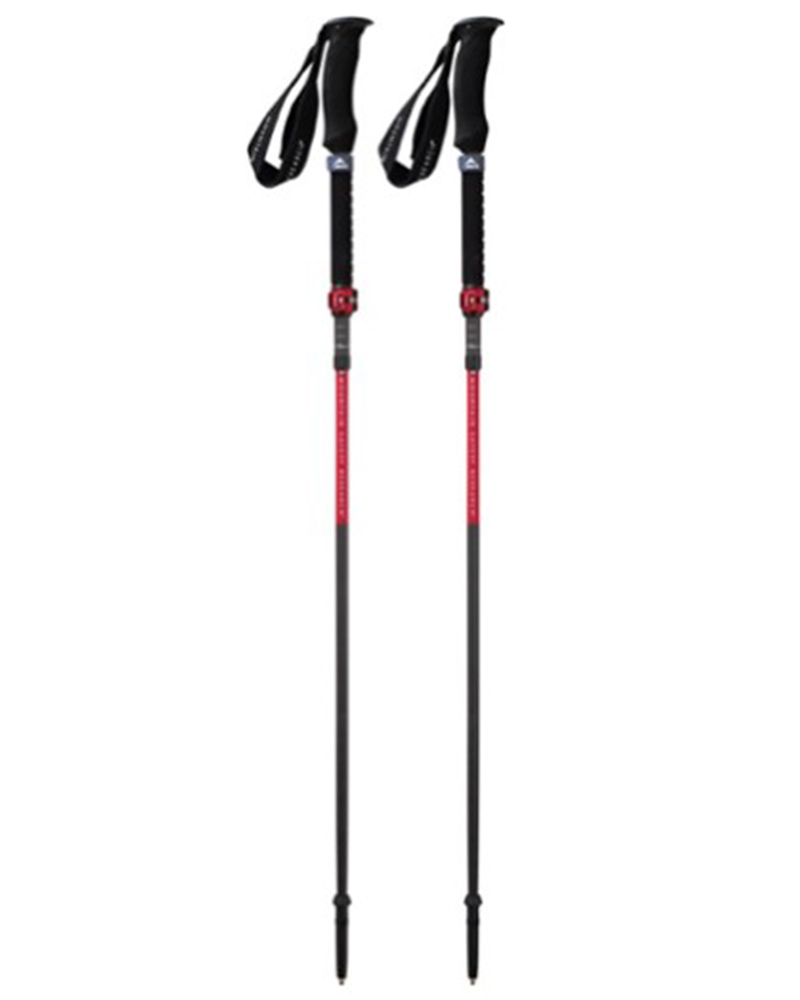
You won’t see me using trekking poles on shorter hikes often – but on long hikes and backpacking trips, as well as certain scrambles, they are an absolute lifesaver. I’ve invested in a high quality ultra-lightweight pair of MSR DynaLock Ascent carbon poles which, while pricey, I don’t regret one bit. If you’re not entirely sure how much use you’re going to get out of a pair of trekking poles, the best budget-friendly option would be the Trekology Trek Z 2.0. Amazon does sell a lot of cheaper Made in China-style trekking poles for cheaper, but these usually are much much heavier and not worth buying.
All the best and most long-lasting cables and power banks I’ve ever owned have been Anker. I once had a phone cable from them that lasted me over three years of daily use! That’s why I keep an Anker PowerCore Essential 20K power bank on me. Like many people I use my phone for a lot of stuff when hiking (checking in with family, using online maps, taking photos, flying my drone) so I like to be prepared for that low battery warning by having a backup power source on me just in case.
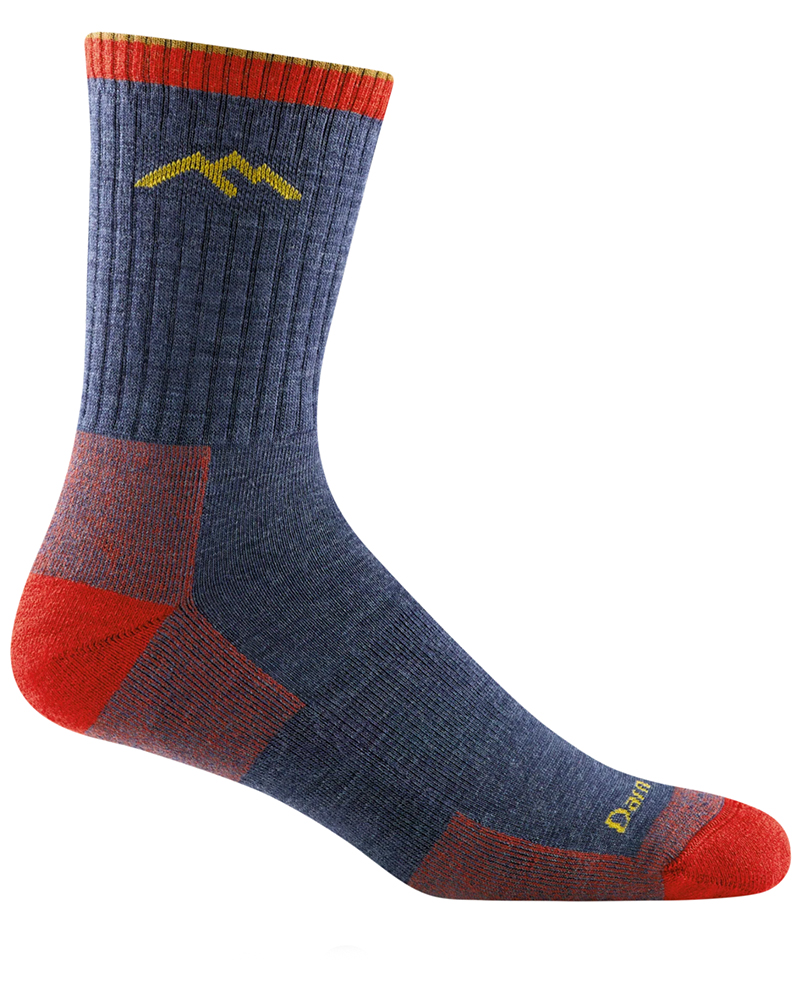
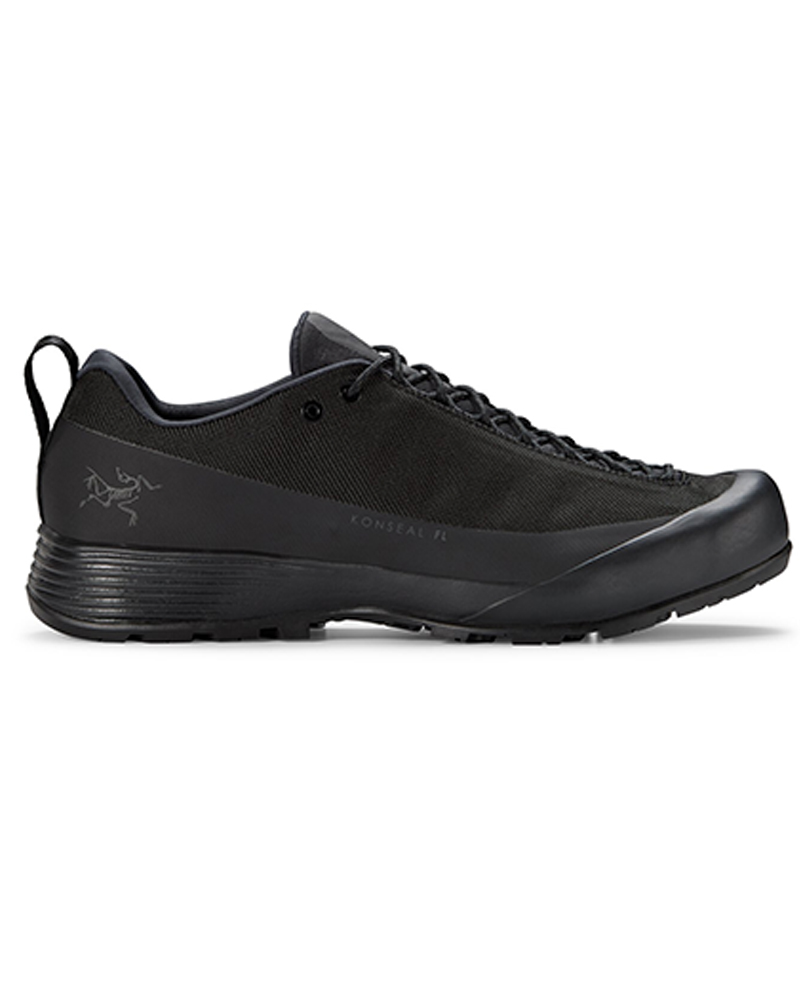
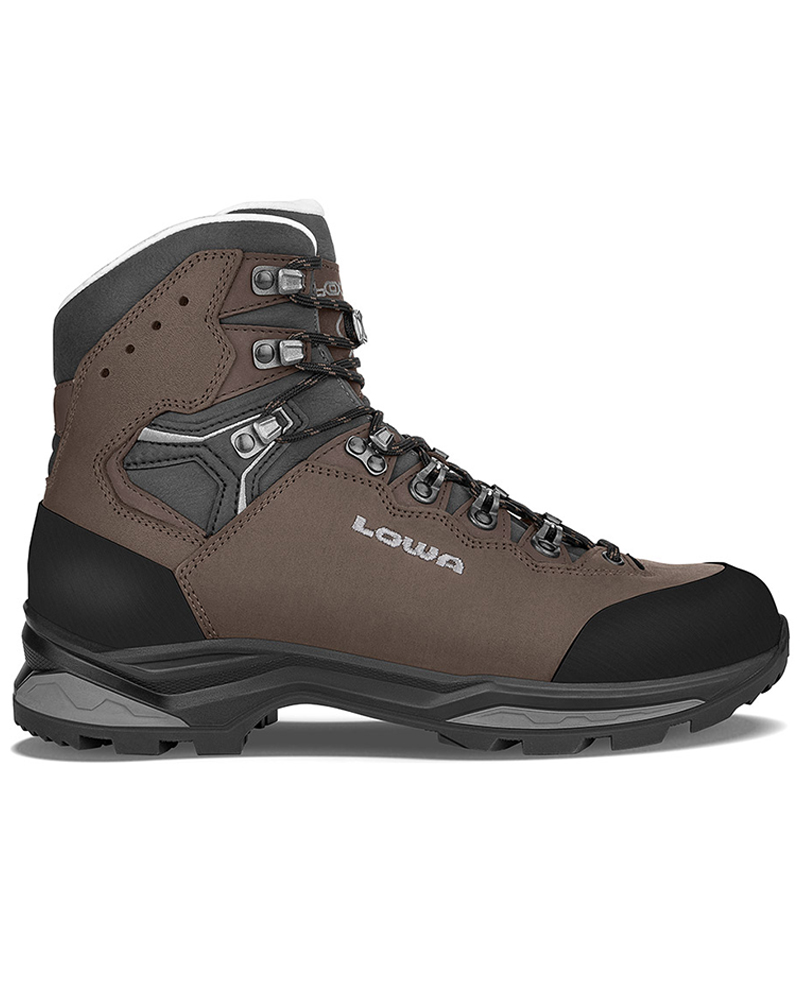
The only socks I ever buy for myself are from Darn Tough, and I almost always make sure to wear them when hiking. After years of having no problems only wearing these comfortable and rugged socks for hikes, I accidentally wore a pair of no-name socks on a hike last year and ended up with blisters on both feet. Safe to say I’m back to sticking with the Darn Tough. And the best part? They have a lifetime guarantee, meaning that if they ever wear out you can send them back for a brand new pair. For hiking footwear I go between a pair of lightweight approach shoes for quick and dirty mountain ascents or anything involving scrambling and more heavy-duty boots for longer treks. I’ve worn a couple different versions of the lightweight but super durable Arc’teryx Konseal FL 2 approach shoes for a few years now and am very impressed with the durability. I also really like the thick toecap that keeps me protected every time I stumble into a root or large rock. For longer, tougher, or muddier treks I rely on my LOWA Camino EVO GTX, which I find insanely comfortable and made of very high quality.


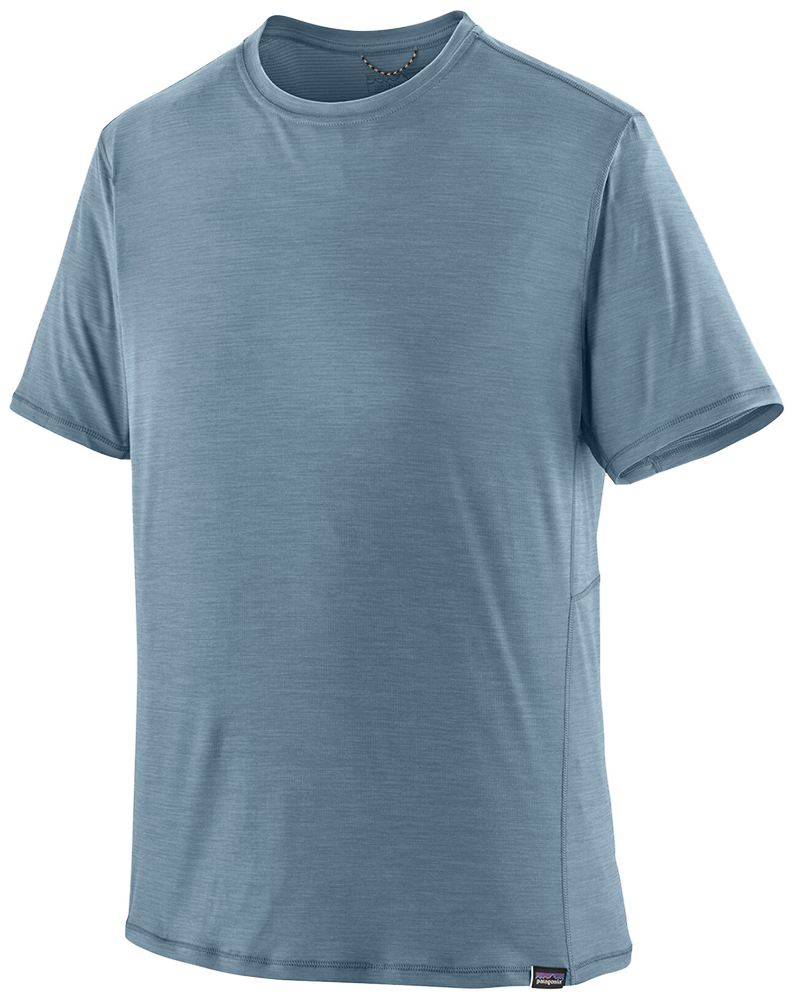
I wear my Ar’teryx Gamma Lightweight Pants on every single hike I go on, and on many days when I’m not hiking. After several years of abuse they are still holding together extraordinarily well, with only a few small holes from where I’ve fallen down and some slight stains from being repeatedly coated with mud. They’re lightweight, breathable, and super comfortable. For lightweight and breathable hiking tops I’m a big fan of both the Patagonia Capilene Shirt and the MEC Core Shirt. My Arc’teryx Squamish Hoody shows up in a lot of my photos. It’s super lightweight and packable, and does a great job of cutting the wind while also being pretty breathable. I also have an Arc’teryx Atom Hoody and Arc’teryx Beta LT that I pull out for cooler or wetter conditions.
I hope you enjoyed this guide to scrambling Devil’s Thumb near Lake Louise in Banff National Park! Feel free to leave any questions in the comment section below or to contact me directly via social media.
1 thought on “Devil’s Thumb”