
Broom Hill is a short and sweet Vancouver Island hike located practically right in Sooke, only a short drive from Victoria. Named for the highly invasive noxious weed Scotch Broom, originally planted in the area in the mid-19th century, the summit of Broom Hill is now covered by the buggers. If you’ve seen a bright yellow flower all along the roadsides in the PNW then you’ve likely already seen Scotch Broom for yourself. Despite the irritating presence of the invasive plant, the hike up is very enjoyable and views from the top are fantastic – especially towards the Sooke Hills in the north. Broom Hill also offers excellent views of Sooke to the southeast and the Sooke Inlet, as well as East Sooke Park. This Sooke hike is one of my favourites for the easy walk up and the surprisingly rewarding views.
Continue reading this blog post for everything you need to know to experience the Broom Hill hike on Vancouver Island for yourself, including distance, elevation gain, how to get there, the best time to visit, and lots of photos of my experience.

When hiking it’s generally important to avoid harmful practices such as disturbing plants or rock-stacking, or removing any natural object from flowers to rocks, as it’s important to leave the environment as natural as possible for the animals and for fellow hikers to enjoy in perpetuity. That said, I made sure to uproot and carry down some small scotch broom plants. As many flowers as there are, there are few enough that if we all took one, then there wouldn’t be any left. Take only photos (and scotch broom), leave only footprints.
If you haven’t heard of Leave No Trace principles, they’re also really essential to read up on before heading anywhere into the outdoors in general. Following these important principles basically means doing your best to leave beautiful places like Broom Hill as good (if not better) than you found them, both for their preservation and for the enjoyment of other visitors.
Broom Hill Round Trip Details
Distance: 4.1 KM / 2.5 MI
Elevation Gain: 175 M / 574 FT
Hiking Time: 1-1.5 HRS
Hiking & Safety Tips
- Prepare for the possibility of wildlife encounters. There are almost no grizzly bears on Vancouver Island, but black bears are still common. Bear bells are proven to be an ineffective bear deterrent, and are even actively discouraged by Parks Canada. The best way to let bears know you’re around is simply to use your voice. Make sure to keep a respectful distance from wildlife and never feed the animals. It may seem kind but it doesn’t just kill wildlife and put people in danger, it’s also in many cases illegal.
- Research current trail conditions and make sure you are well-informed about the route before you leave, and assess if it is within your capability. Be aware of what time it gets dark and check the weather forecast. Make sure to tell someone where you’re going and when you expect to return. Every year as more and more people try hiking for the first time, the number of rescues goes up. Being prepared is the best defense.
- Pack everything you need for a successful hike, including enough water and energy-rich snacks. Remember to pack out everything you pack in though – don’t expect to find a convenient garbage can halfway up the trail. Bring appropriate layers (remember you’ll warm up once you start hiking) and sun protection. Hiking poles may be helpful but are not required. In addition to not leaving any garbage on the trail yourself, I highly recommend bringing a garbage bag and collecting any trash that you do see on the trail. You’re guaranteed to make the hike up Broom Hill a more enjoyable experience for the next person.
How to Get to Broom Hill Trailhead
The trailhead for Broom Hill is about 45 minutes from downtown Victoria, or only a few minutes from Sooke. From the main road through Sooke, turn north onto Otter Point Road at the intersection with the Petro-Canada. Continue for four or five minutes before turning left onto Burr Drive, before taking the next left onto Petemat Road, followed by a right onto Blanchard Road. Drive to the end of Blanchard Road and park somewhere on the side of the road being considerate of the people living in the neighborhood. The trail up Broom Hill starts from the end of the road.
Click here to open the exact trailhead location in Google Maps.
Hiking Broom Hill

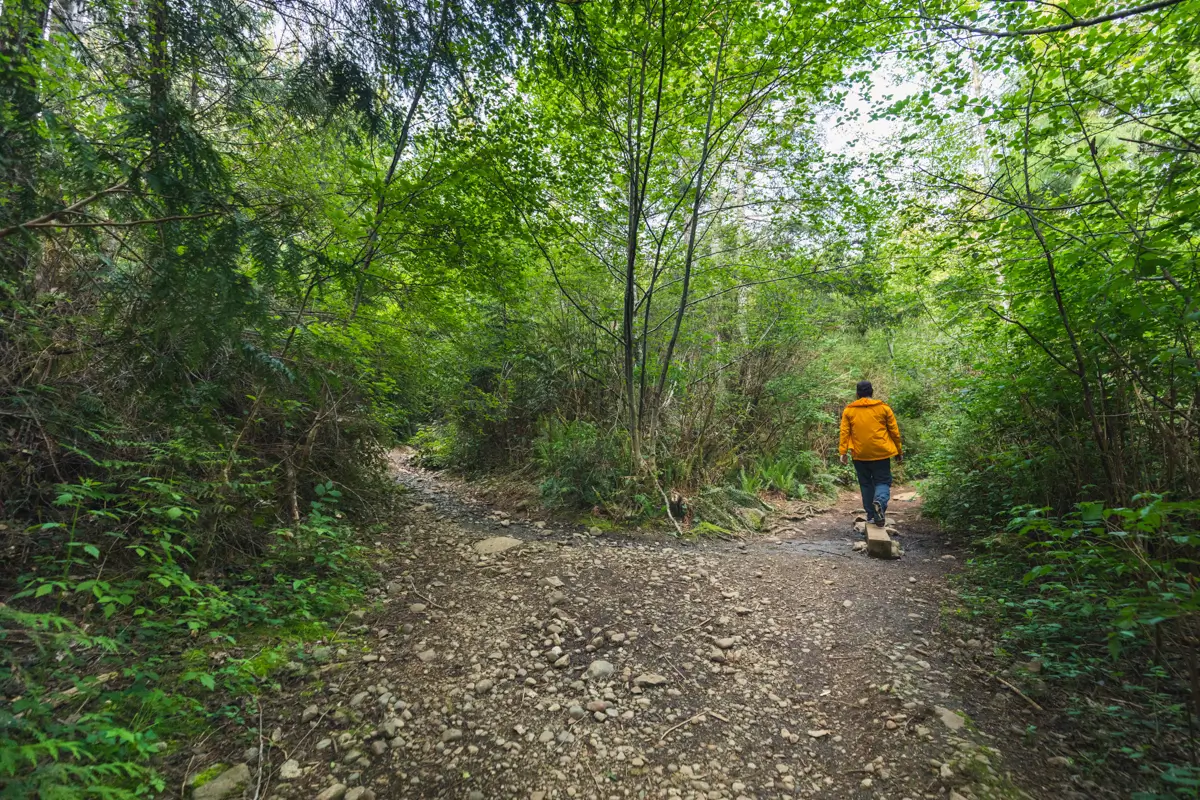
Starting the hike up Broom Hill from the trail beginning at the end of the road.
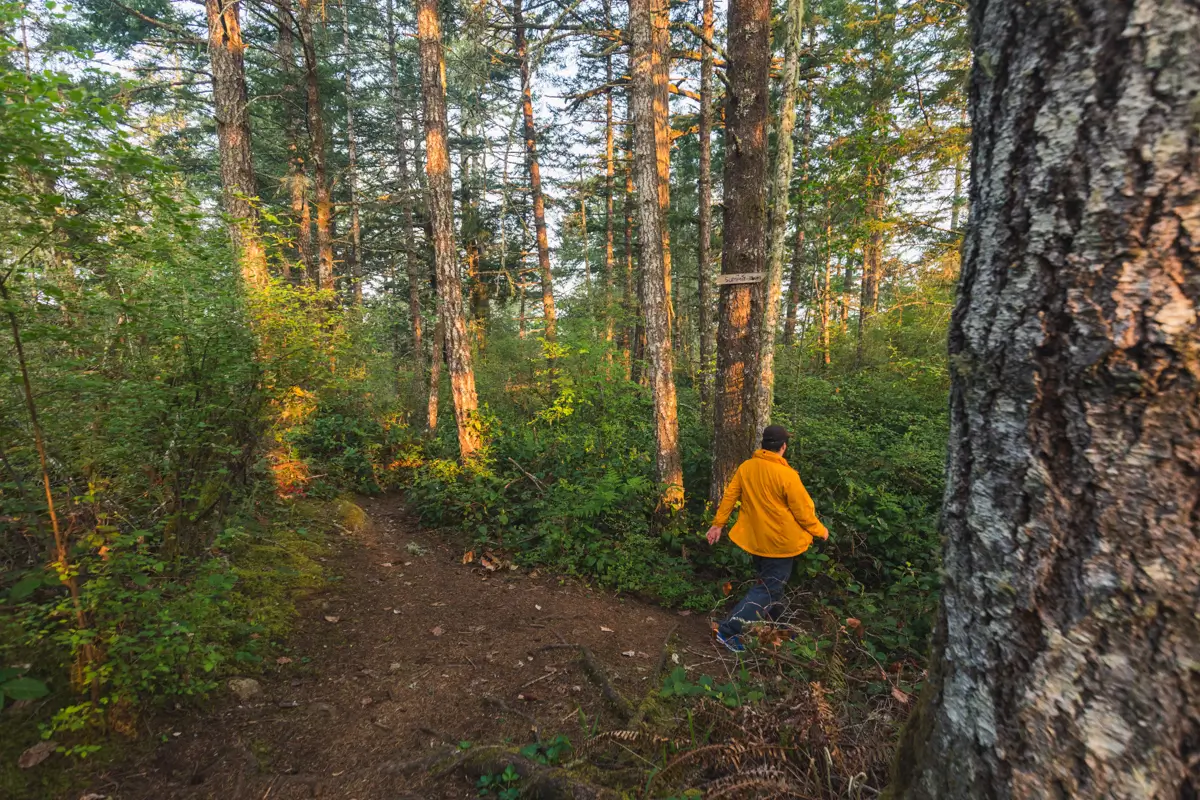
The very first Scotch Broom plant flowering at right not two seconds into the hike,
After several minutes, turn left at a fork.
Followed not long after with another fork. Turn right here.
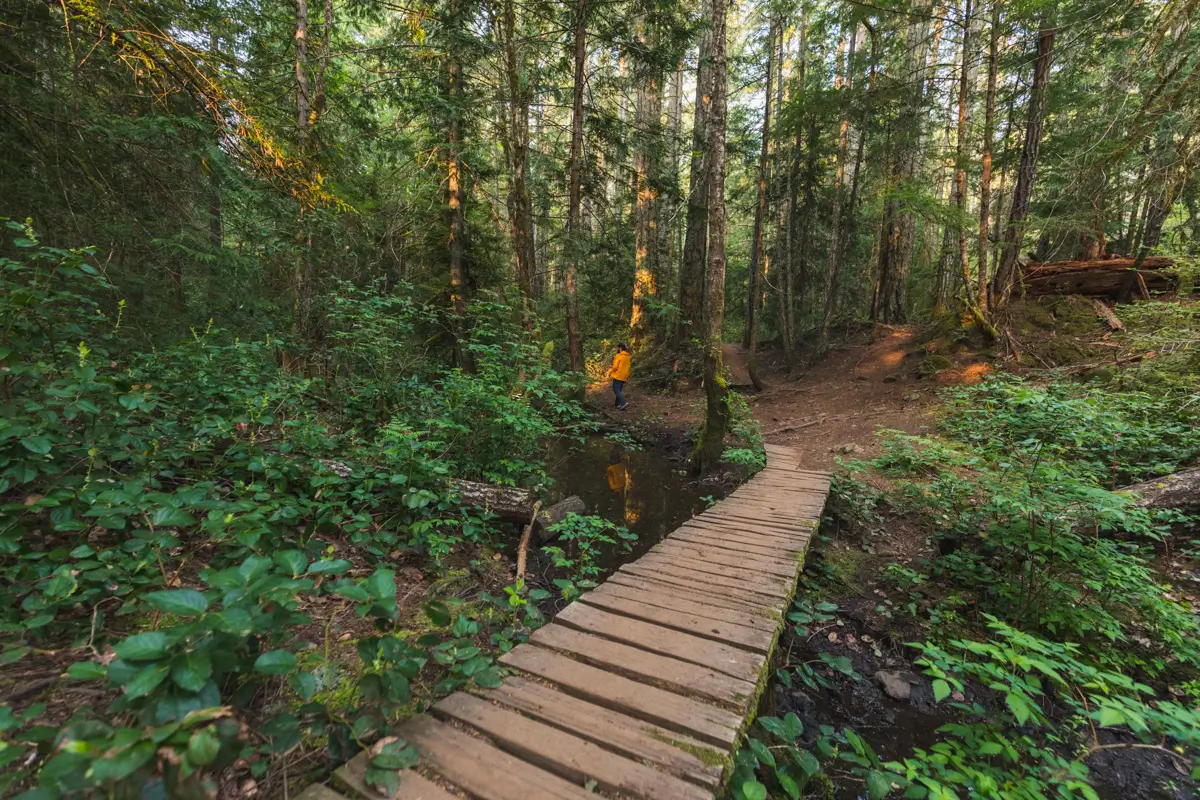
After crossing this bridge, the path splits into three, Take the trail on the left.
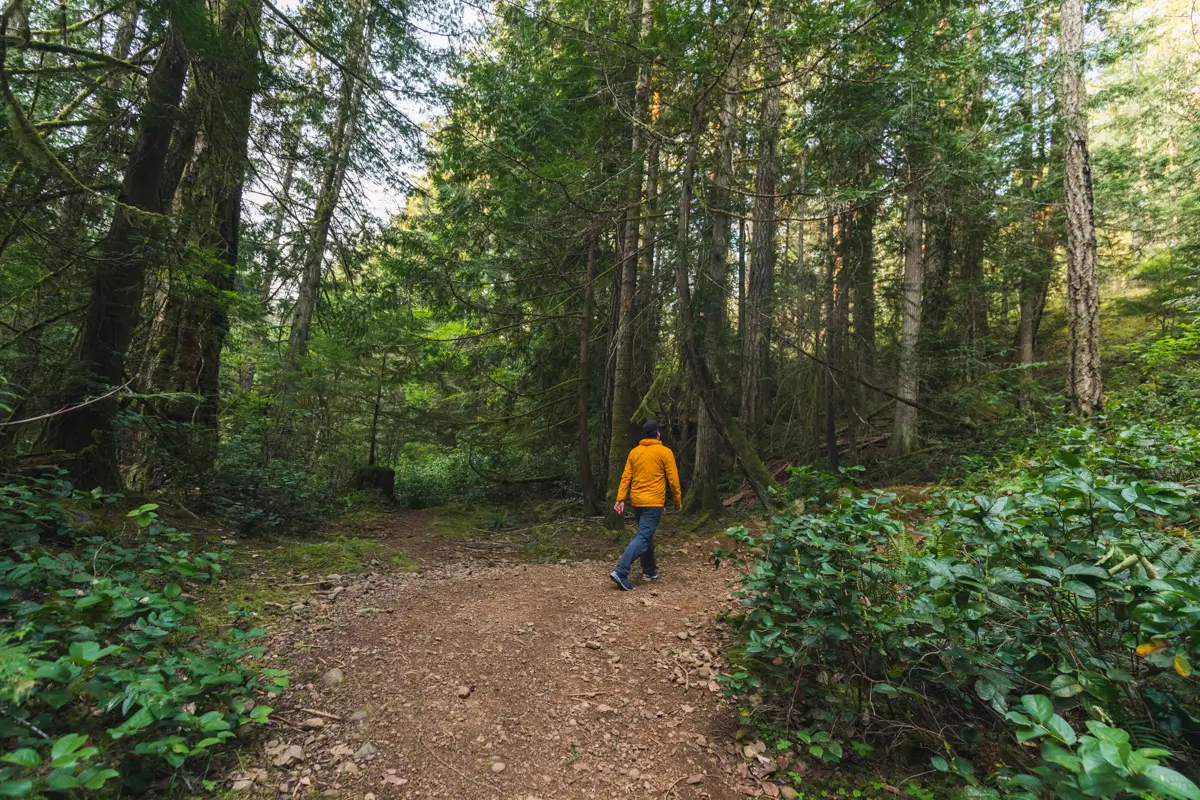
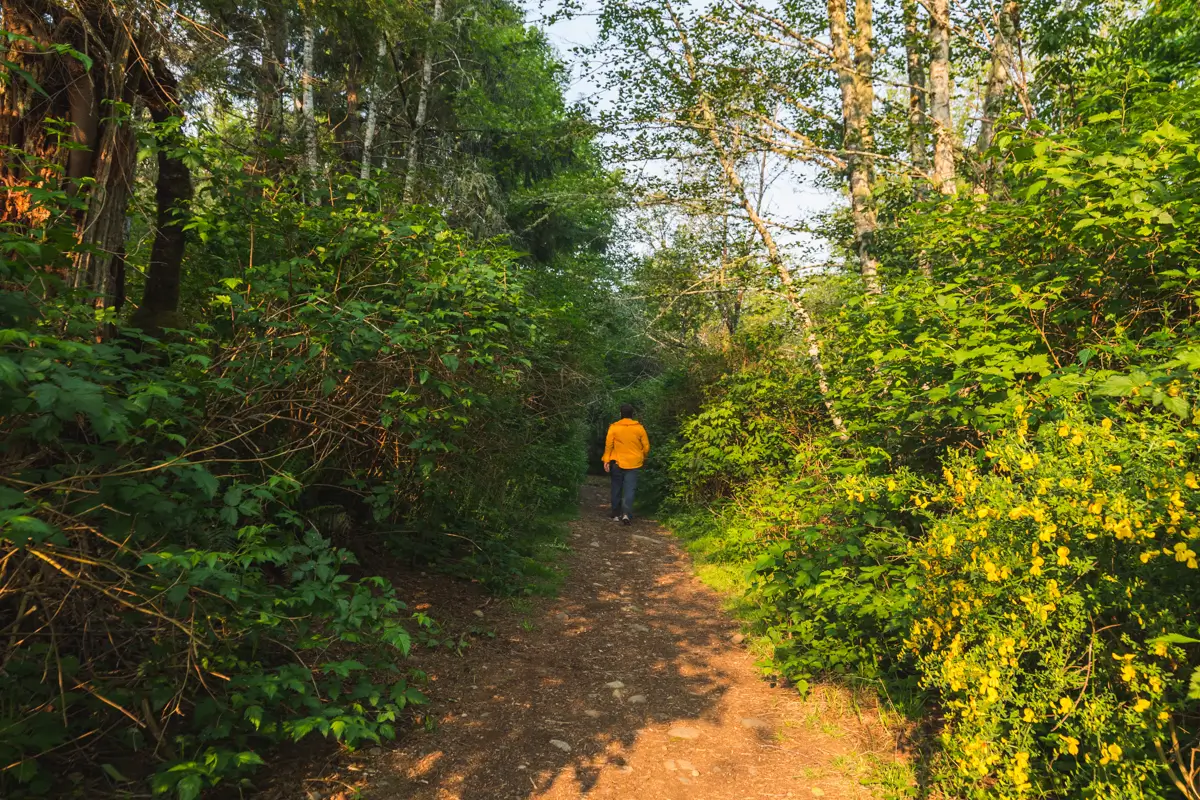
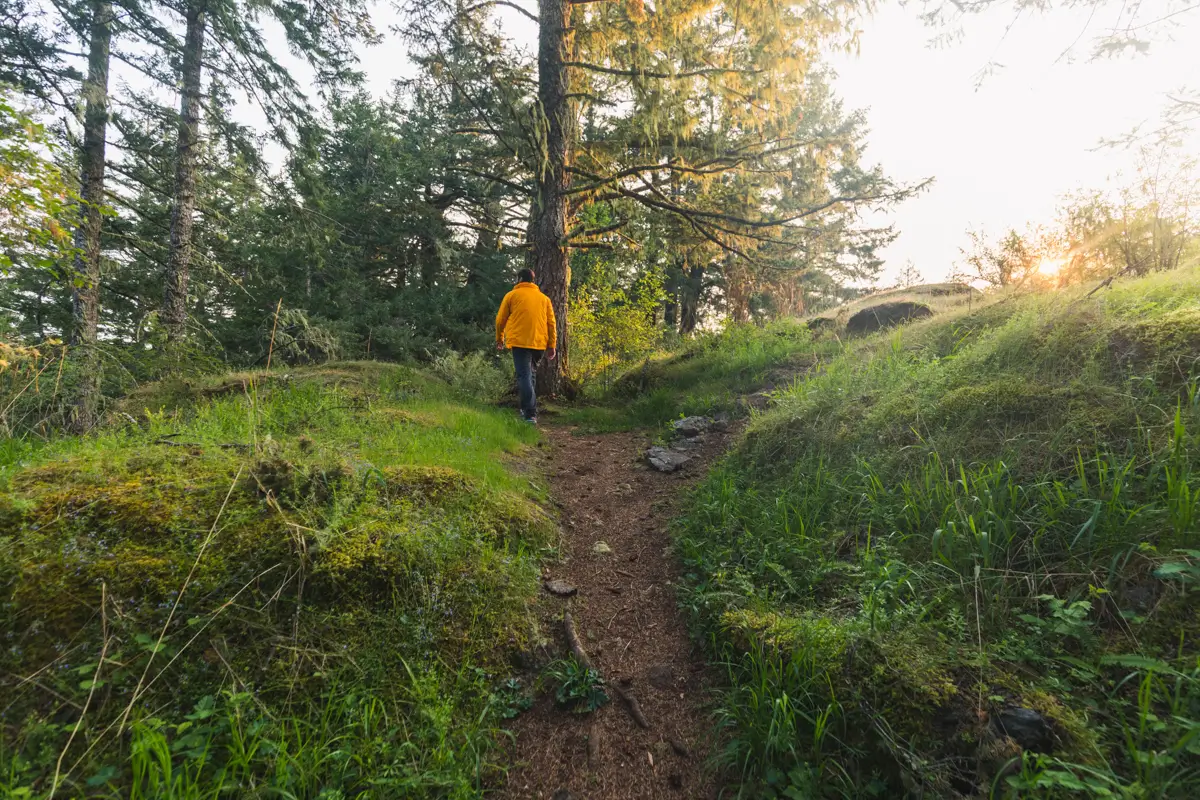
From here on he trail is a bit more straightforward. There are still some smaller trails coming off of the main one, but as long as you remain on the widest and most obvious trail you’ll be on the right path.
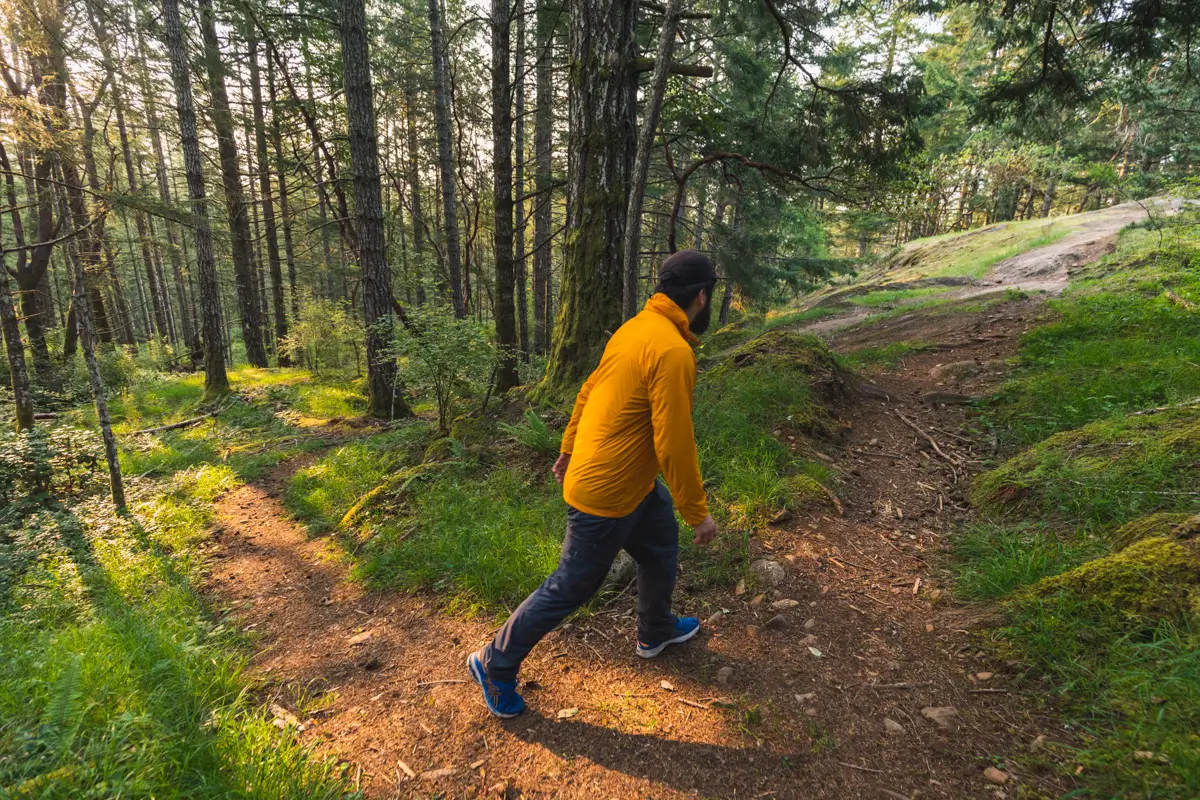
The trail sharply turns back on itself to climb up the hill. Up to this point elevation gain has been minimal but the hike up Broom Hill starts to get steeper from here.
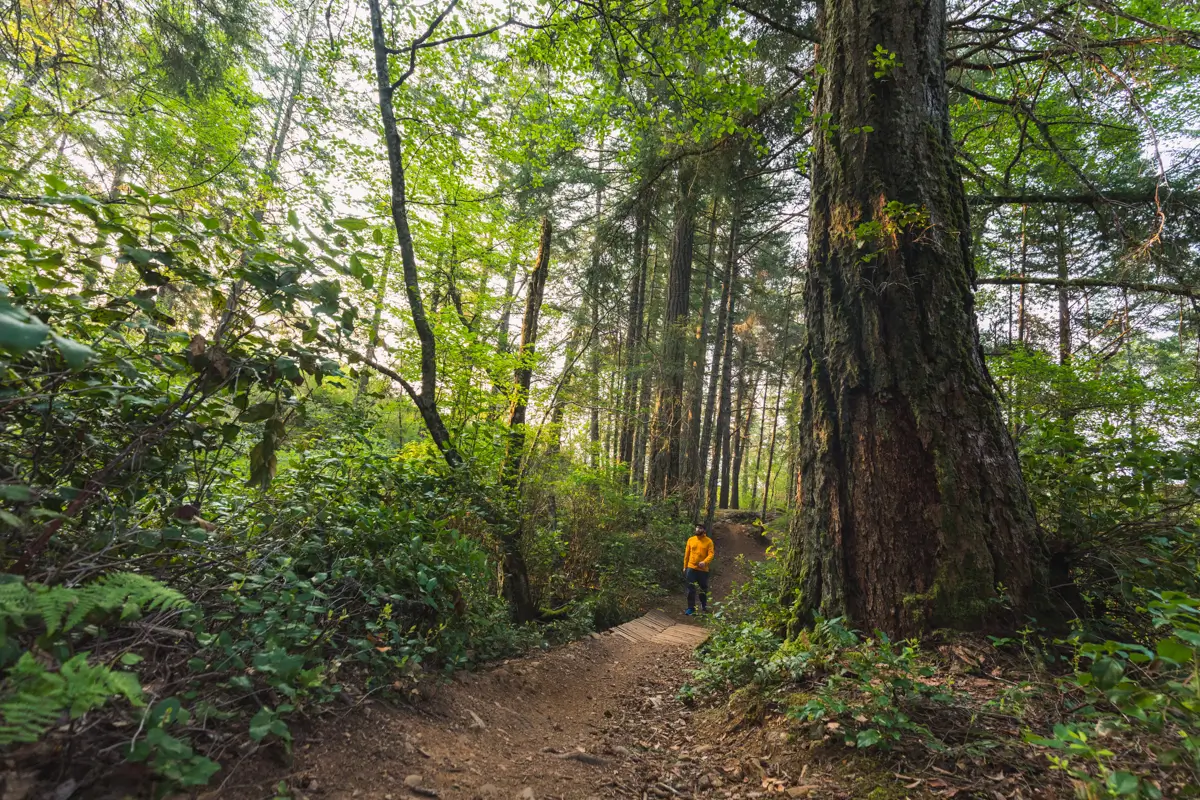
Though most of the huge trees that once defined the landscape of the region have been felled, there are a couple of interesting big trees on the hike up Broom Hill.
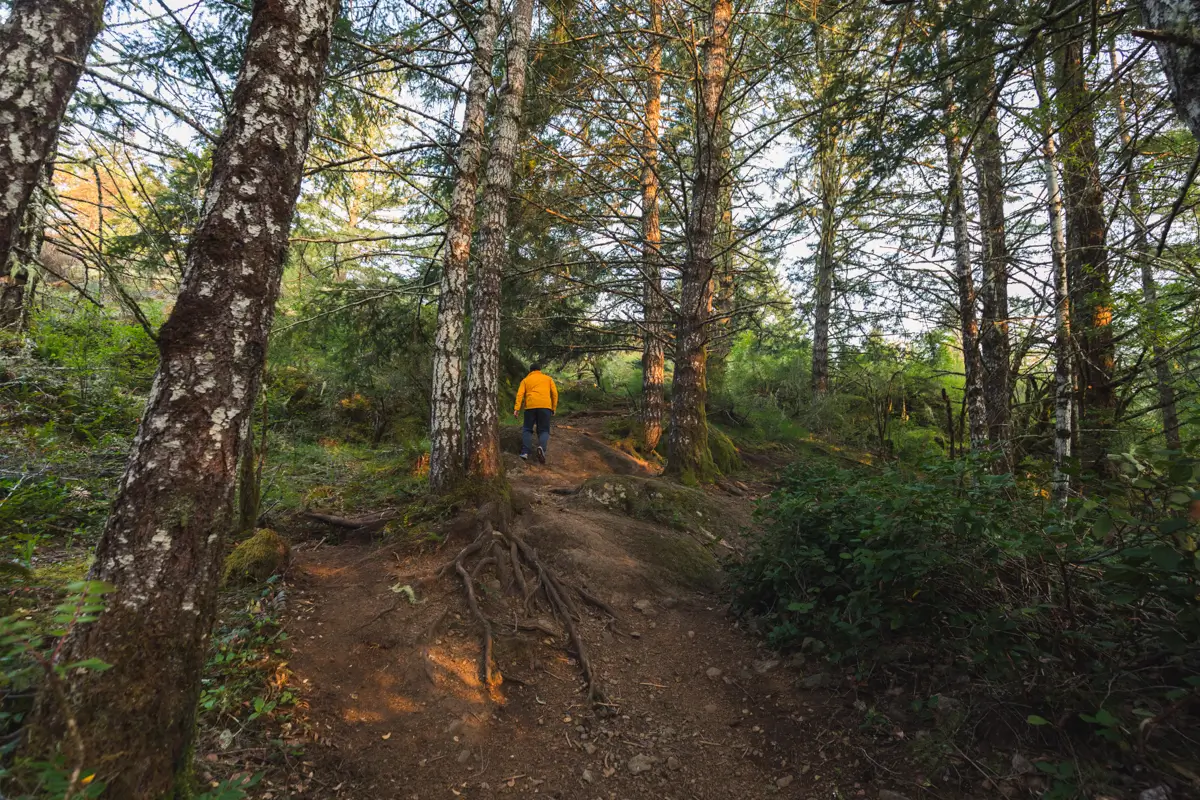
The trail getting steeper.
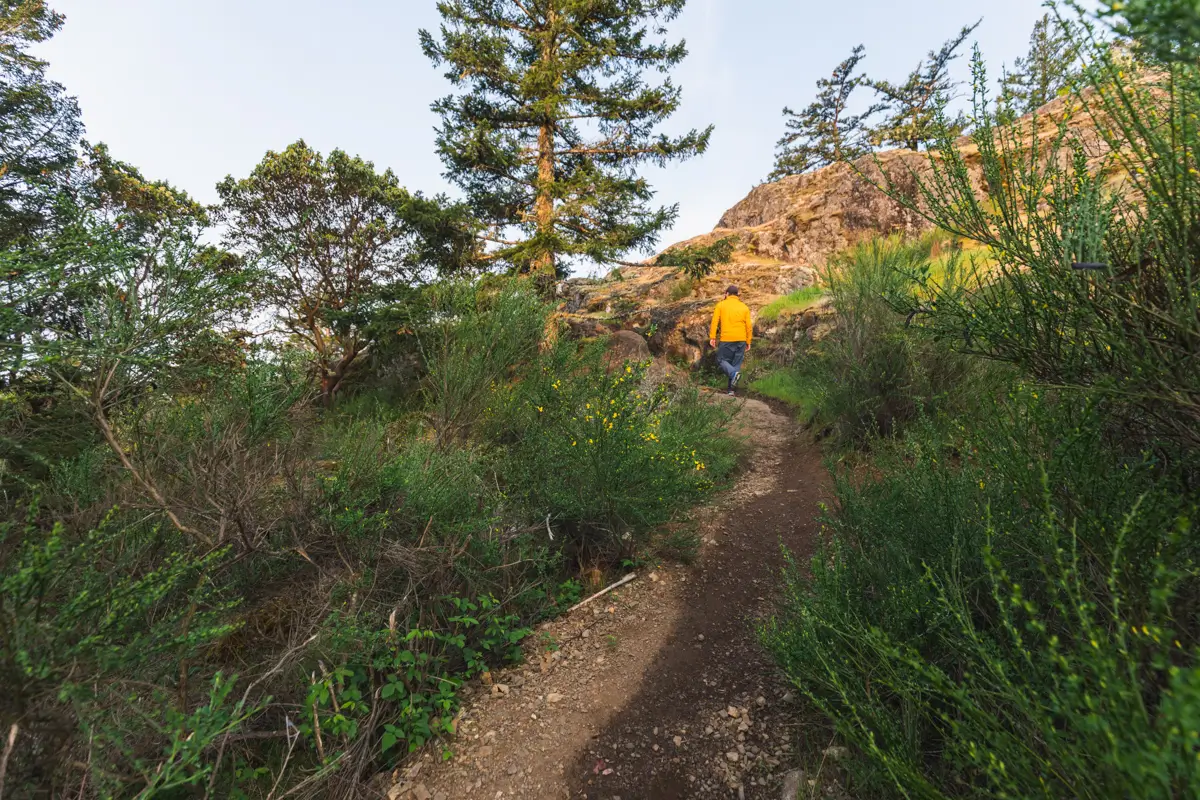
Approaching the summit and the Scotch Broom starts appearing more and more, choking out the native vegetation.
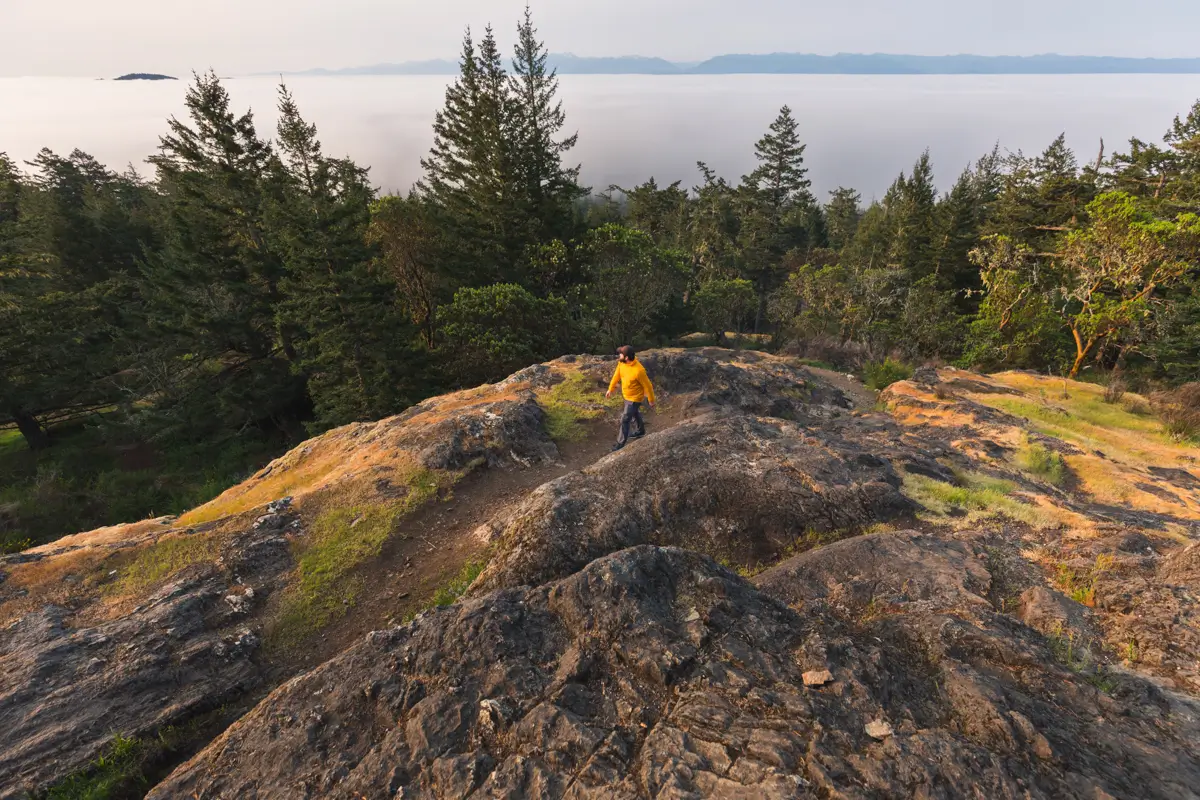
Views to the south of the Olympic Mountains opening up from near the summit of Broom Hill.
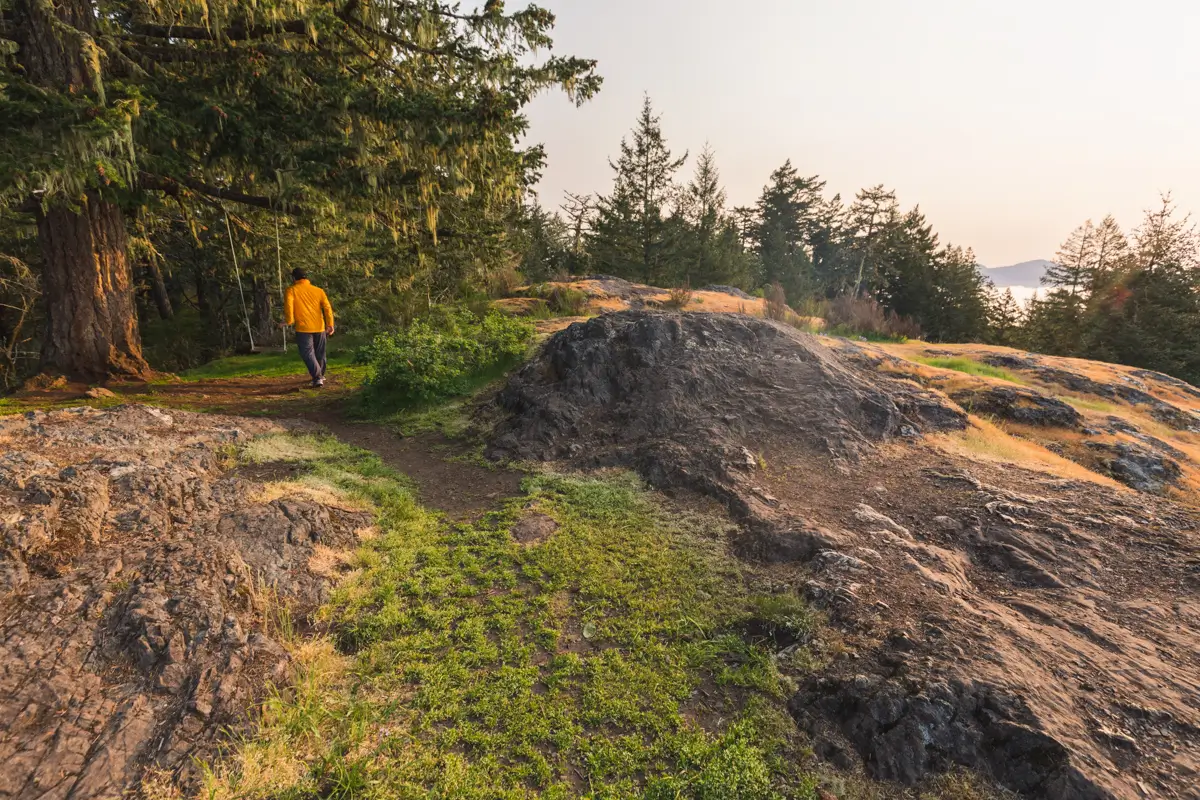
It’s momentarily a bit hard to see where the trail goes from this viewpoint. It goes past the swing and ducks back down into the woods before climbing back up to the summit proper.
I initially had heard the trail described as “well-signed”. Ironically, despite multiple junctions along the way, the first and only sign I saw on the Broom Hill trail was just before the summit.
Keep left. A smaller trail splits off to the right and appears to offer another way down the hill.

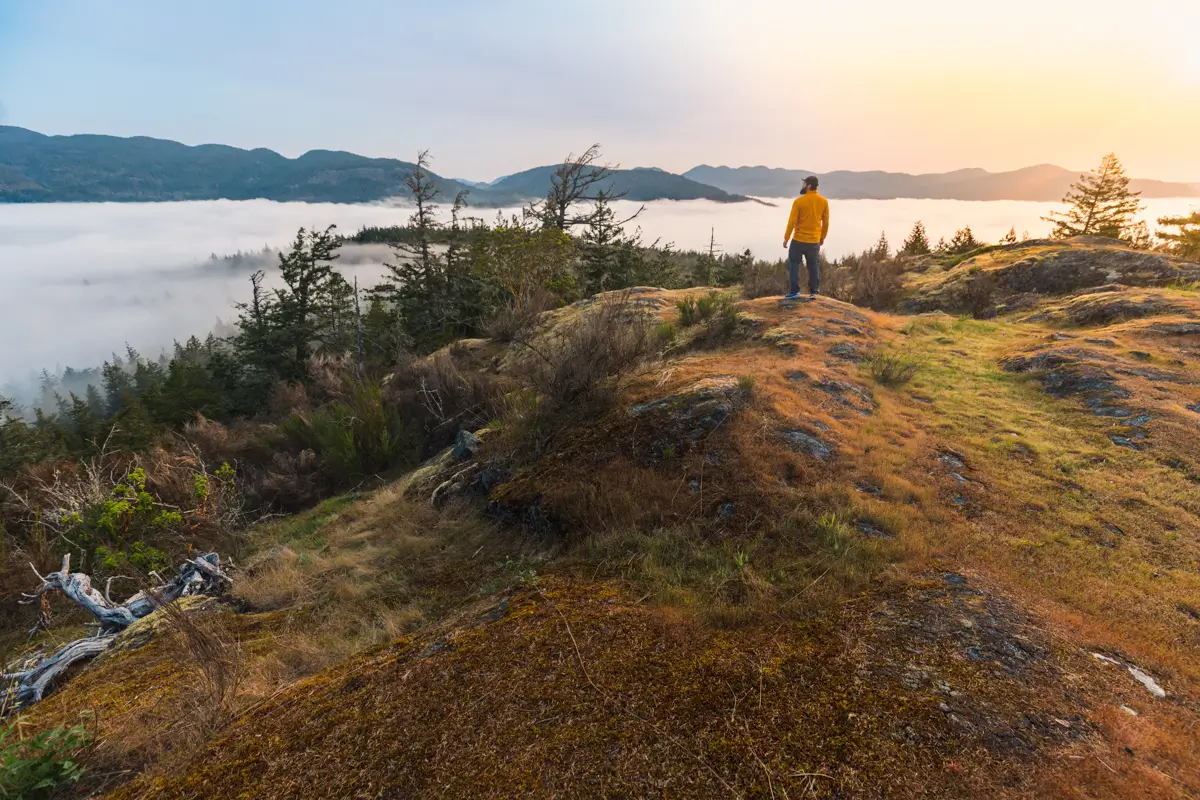
Nearing the summit, with the namesake Scotch Broom everywhere.
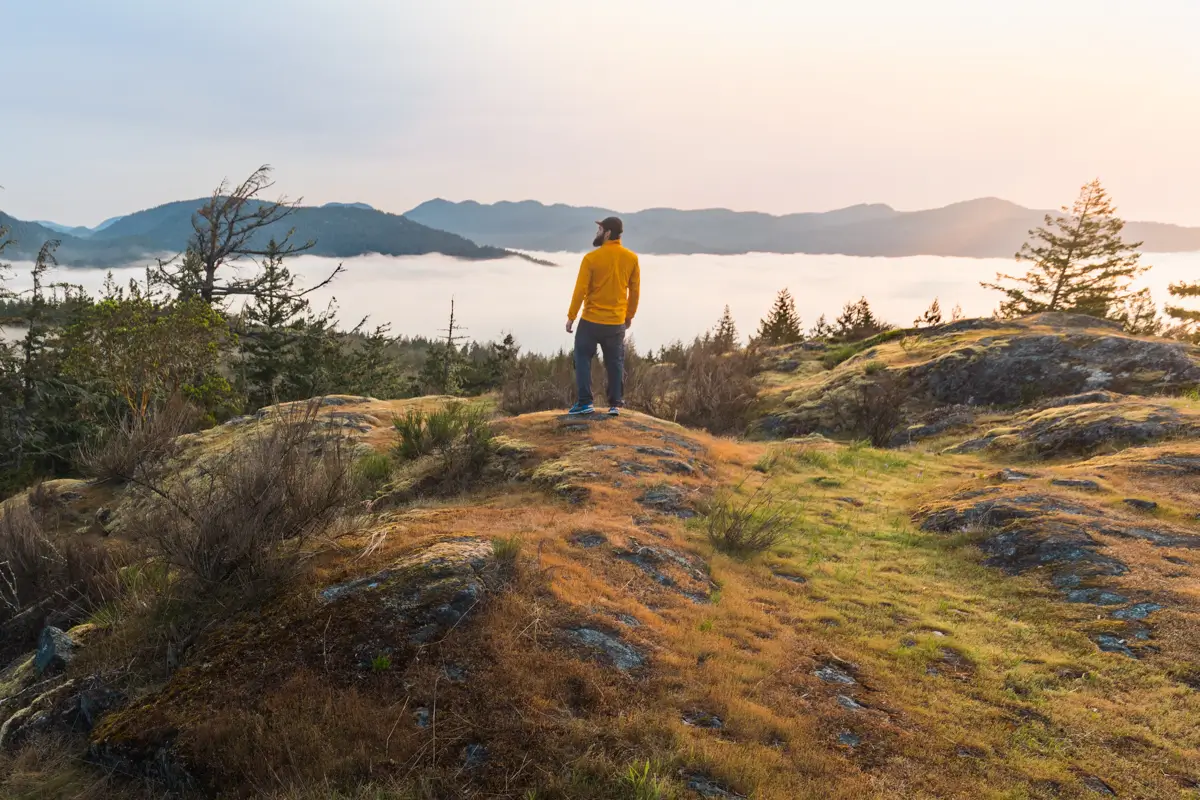
On the summit of Broom Hill in Sooke.
Recommended Hiking Gear
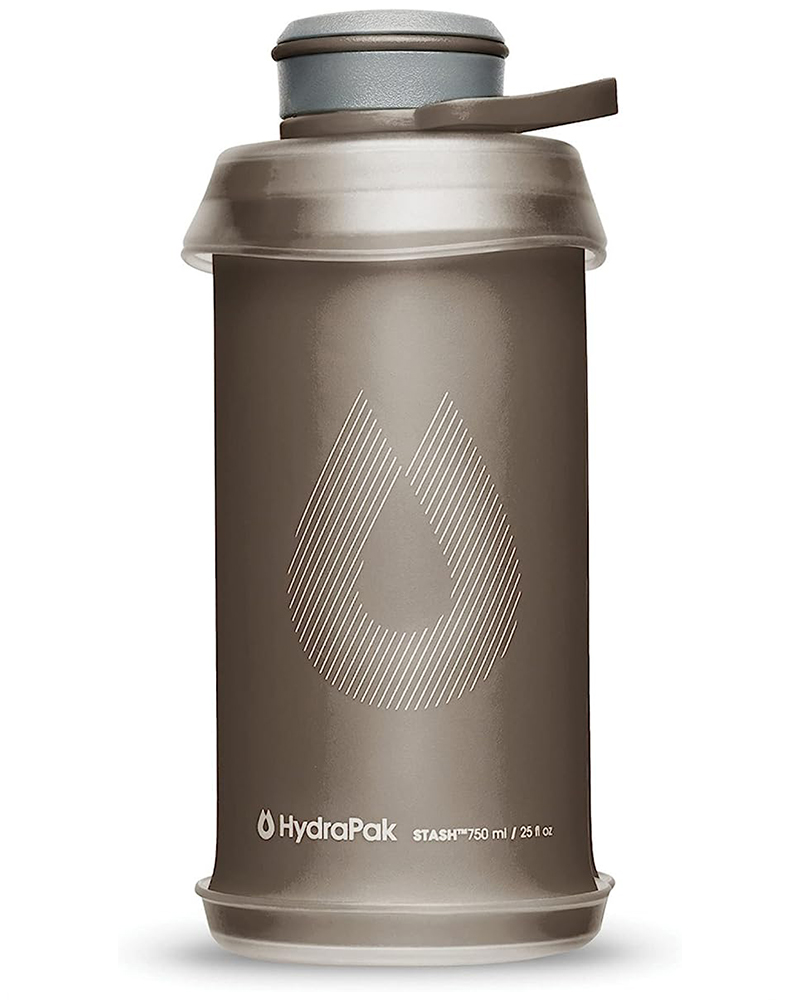
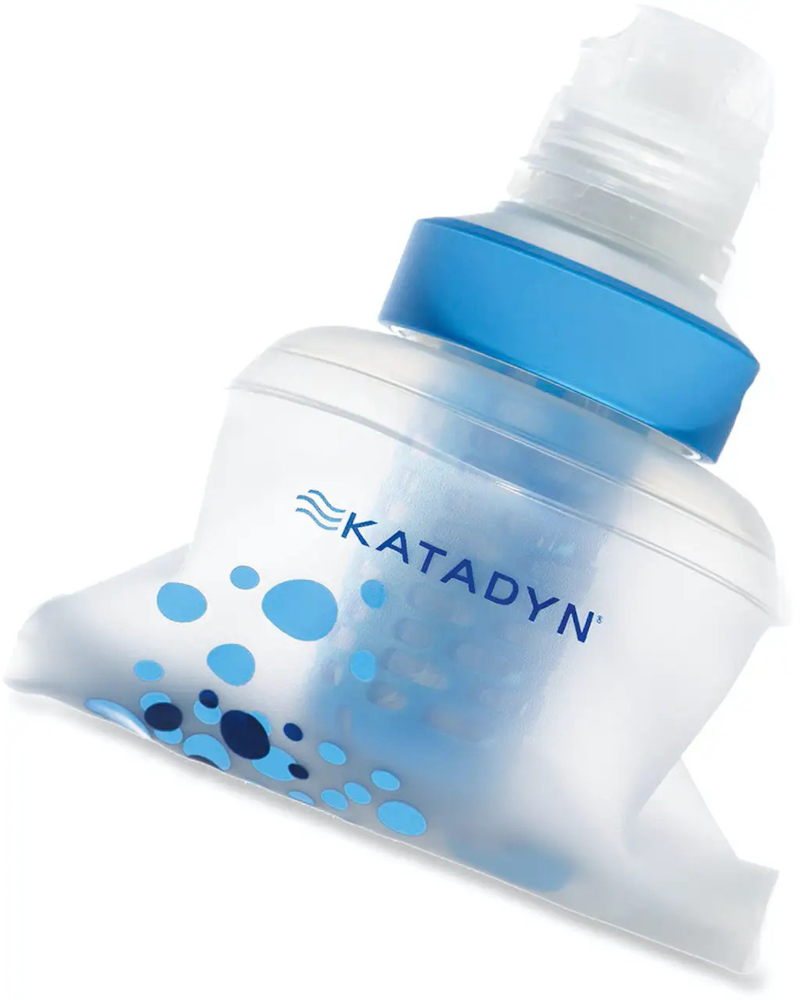
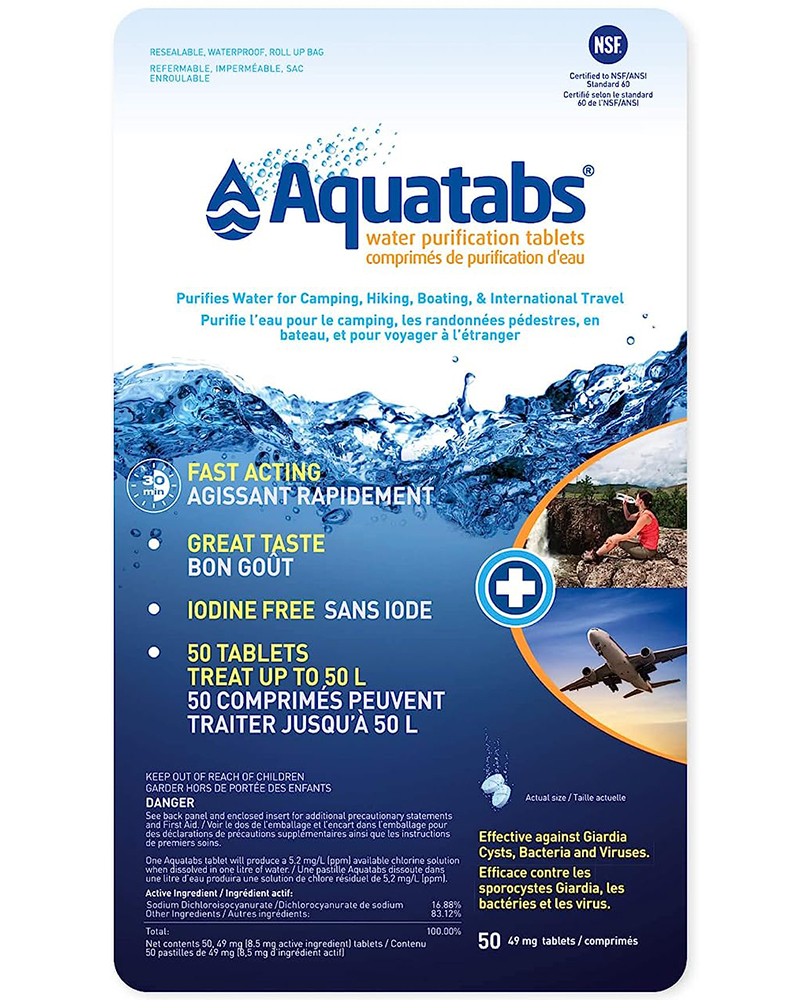
Water is a must whenever I’m hiking, especially if the sun is going to be out. My favourite water filter I’ve used is the Katadyn BeFree 0.6L, which unlike other water filters I’ve used packs up really small and lightweight. For hikes where I know there won’t be any readily available water sources along the way, I make sure to bring my own. The Hydrapak Stow 1L bottle is my go-to, for the same reason that it’s made of a soft plastic that folds up and doesn’t take up any more extra space than necessary in my pack. Finally, Aquatabs are another great option for purifying water, with one tablet being suitable for one litre of water. I previously used the Grayl water filter while travelling internationally, and though I found its hard body more convenient for day to day use and easier to drink from, it has a little too much bulk for my fast-and-light style of hiking.
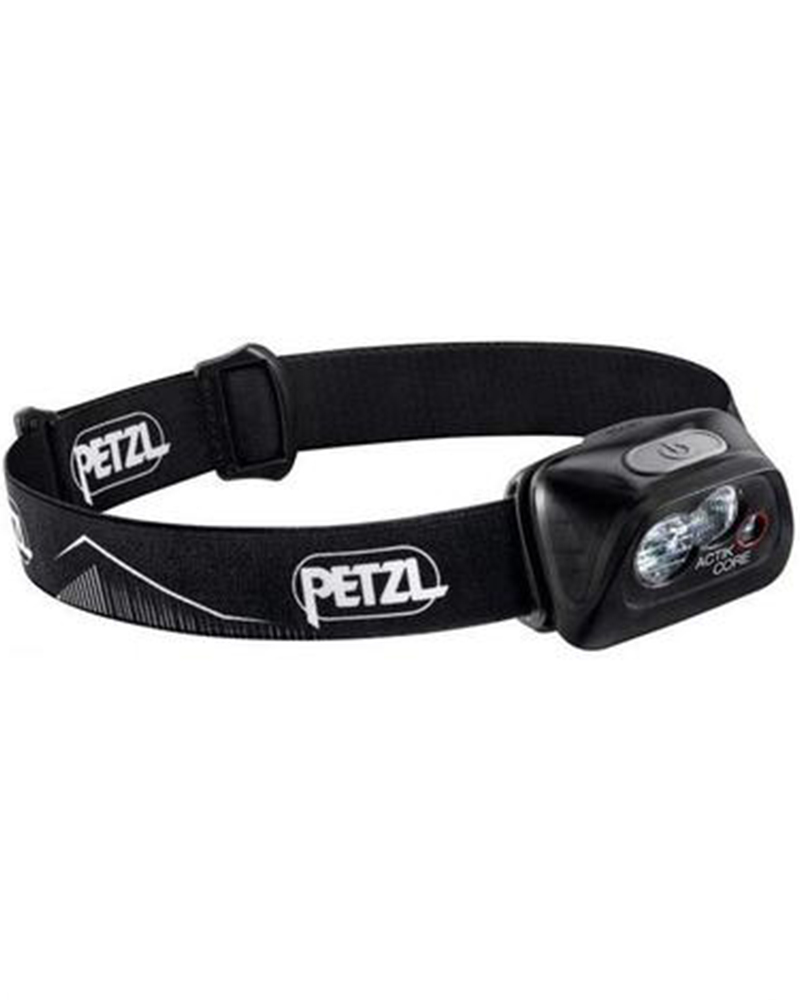

The secret to all my photos of gorgeous sunset and sunrise mountaintop views? A lot of hiking in the dark. And let me speak from personal experience when I say that the last thing that you want to happen when hiking is to be caught in the dark without a headlamp. I used the Black Diamond Spot 400 for years and it worked great – until I lost it on top of a mountain somewhere. The only downside to it was having to worry about the batteries dying, though there’s also a slightly more expensive version that has a rechargeable battery. Nowadays I’m using the Petzl Actik Core, which is a bit pricier than the more budget-friendly Black Diamond, but is also brighter, more comfortable (in my opinion), and has a hybrid power system that is rechargeable but can also take AAA batteries if needed.
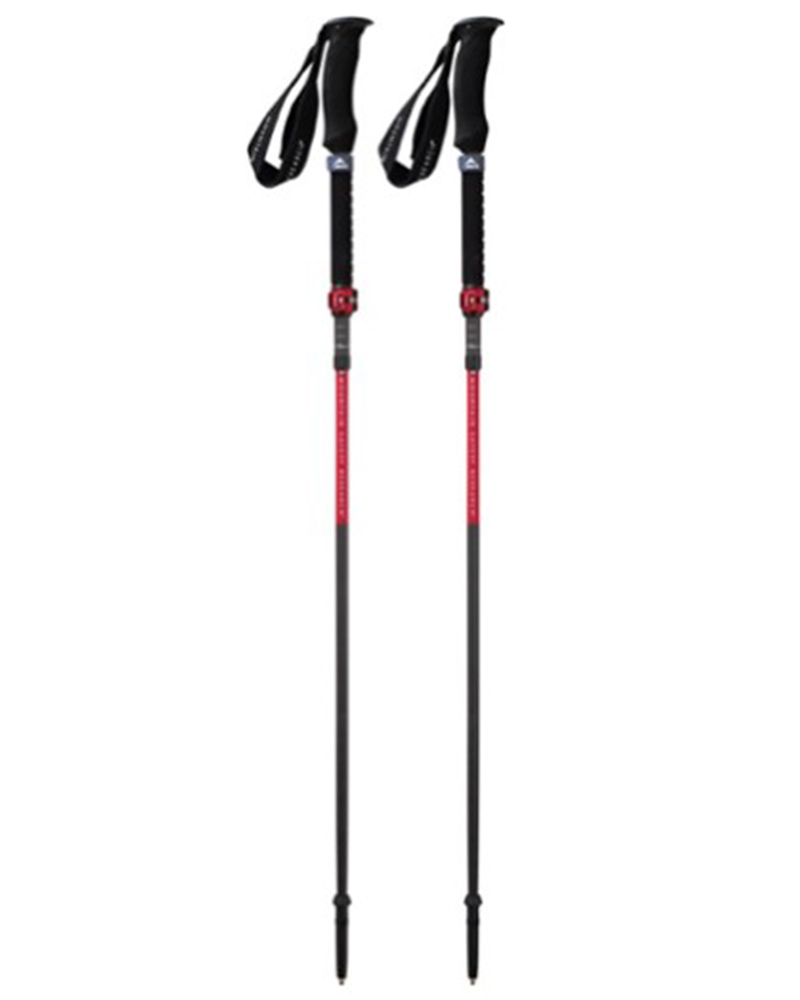
You won’t see me using trekking poles on shorter hikes often – but on long hikes and backpacking trips, as well as certain scrambles, they are an absolute lifesaver. I’ve invested in a high quality ultra-lightweight pair of MSR DynaLock Ascent carbon poles which, while pricey, I don’t regret one bit. If you’re not entirely sure how much use you’re going to get out of a pair of trekking poles, the best budget-friendly option would be the Trekology Trek Z 2.0. Amazon does sell a lot of cheaper Made in China-style trekking poles for cheaper, but these usually are much much heavier and not worth buying.
All the best and most long-lasting cables and power banks I’ve ever owned have been Anker. I once had a phone cable from them that lasted me over three years of daily use! That’s why I keep an Anker PowerCore Essential 20K power bank on me. Like many people I use my phone for a lot of stuff when hiking (checking in with family, using online maps, taking photos, flying my drone) so I like to be prepared for that low battery warning by having a backup power source on me just in case.
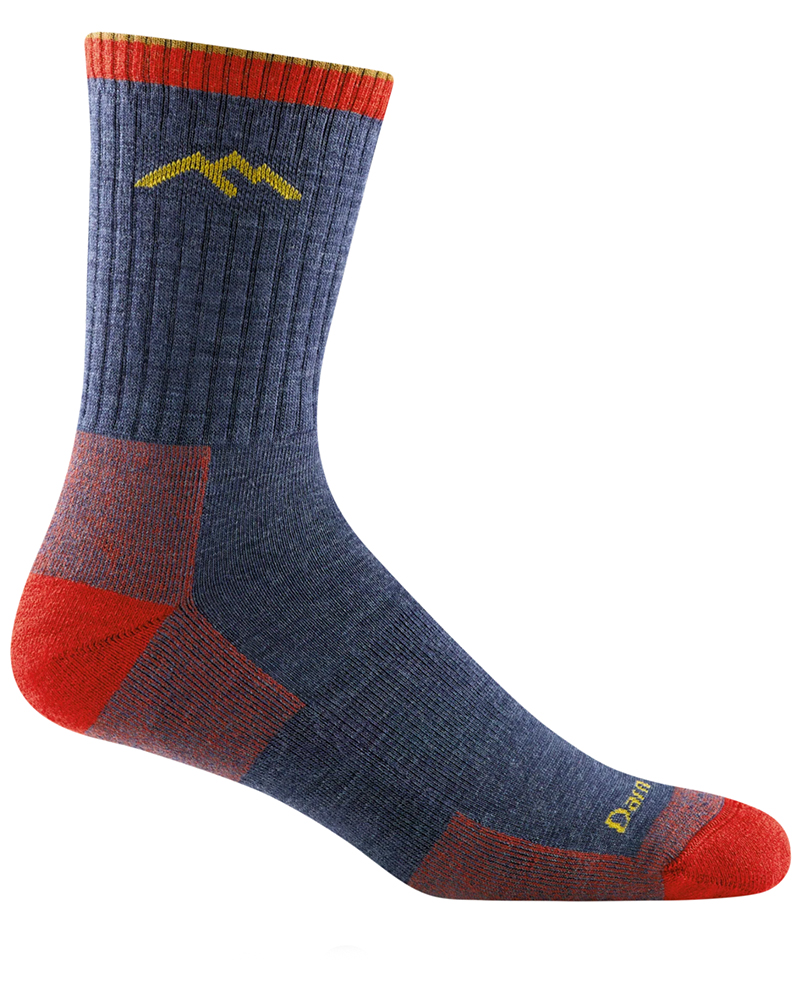
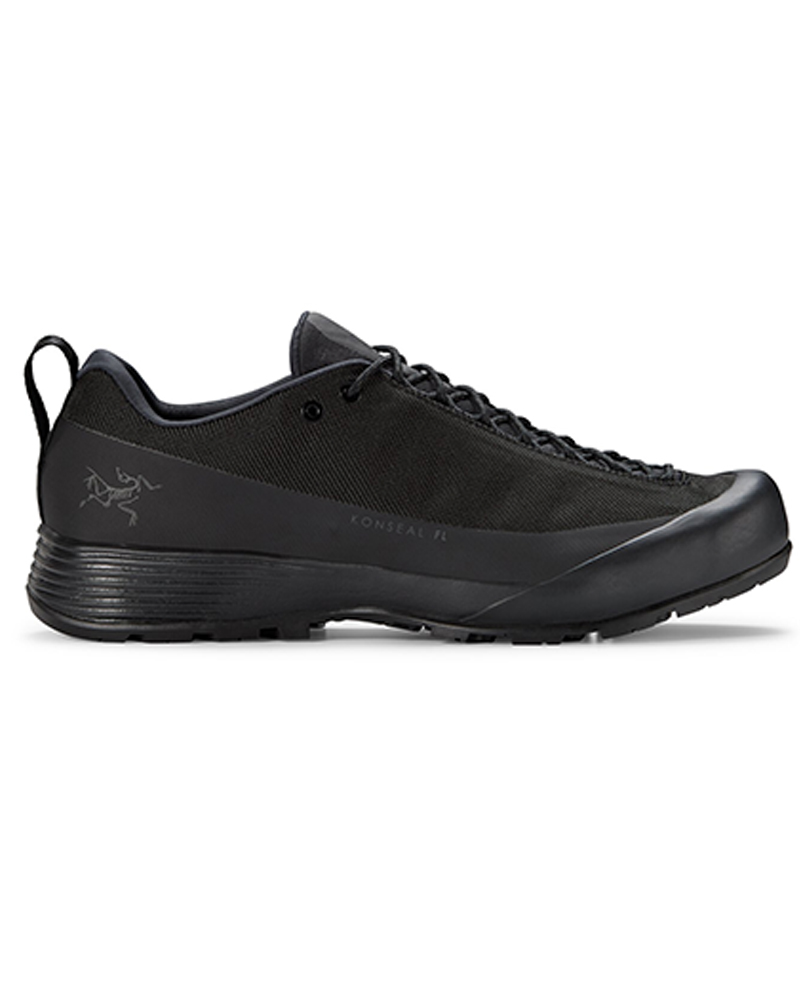
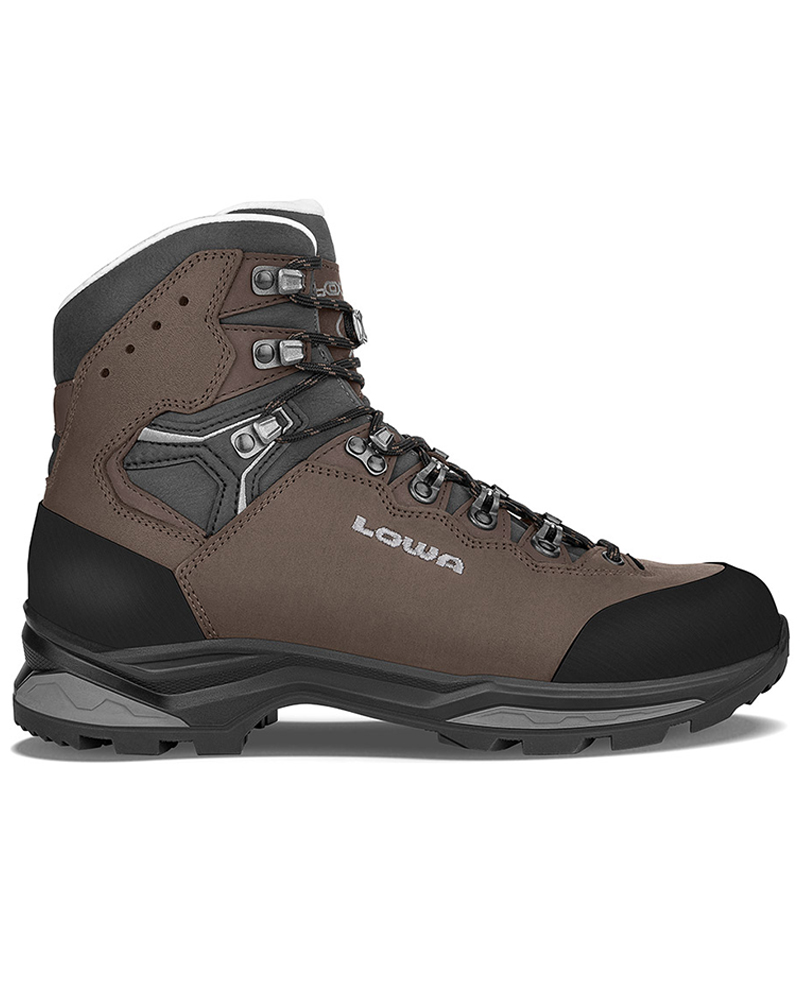
The only socks I ever buy for myself are from Darn Tough, and I almost always make sure to wear them when hiking. After years of having no problems only wearing these comfortable and rugged socks for hikes, I accidentally wore a pair of no-name socks on a hike last year and ended up with blisters on both feet. Safe to say I’m back to sticking with the Darn Tough. And the best part? They have a lifetime guarantee, meaning that if they ever wear out you can send them back for a brand new pair. For hiking footwear I go between a pair of lightweight approach shoes for quick and dirty mountain ascents or anything involving scrambling and more heavy-duty boots for longer treks. I’ve worn a couple different versions of the lightweight but super durable Arc’teryx Konseal FL 2 approach shoes for a few years now and am very impressed with the durability. I also really like the thick toecap that keeps me protected every time I stumble into a root or large rock. For longer, tougher, or muddier treks I rely on my LOWA Camino EVO GTX, which I find insanely comfortable and made of very high quality.


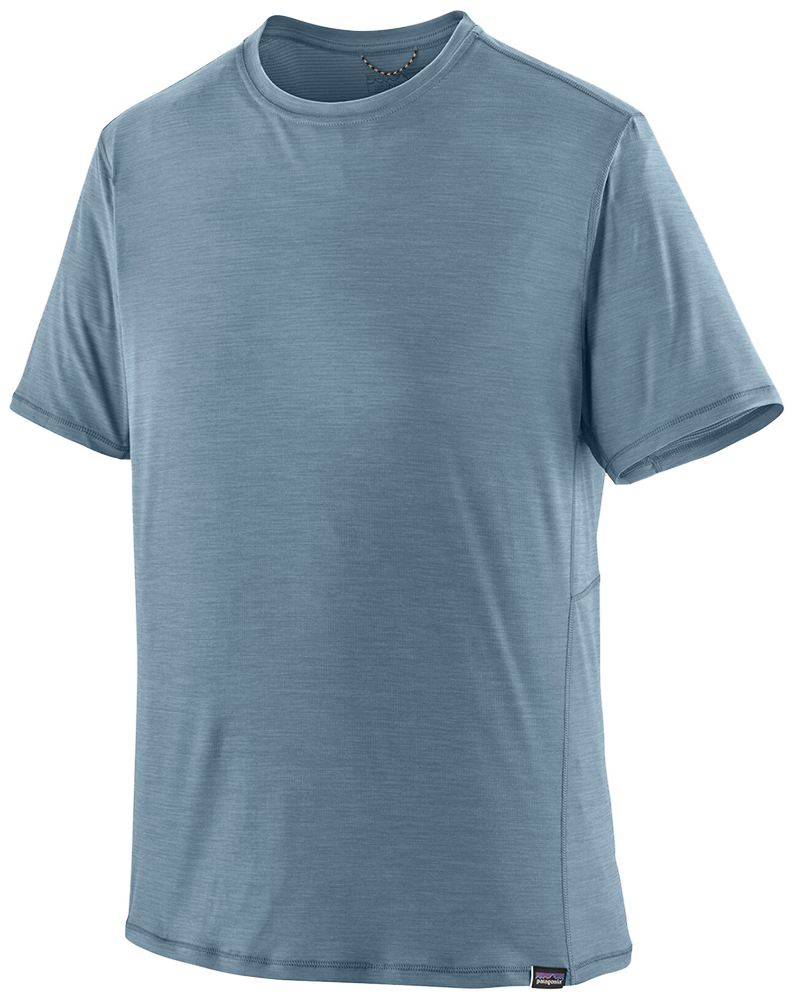
I wear my Ar’teryx Gamma Lightweight Pants on every single hike I go on, and on many days when I’m not hiking. After several years of abuse they are still holding together extraordinarily well, with only a few small holes from where I’ve fallen down and some slight stains from being repeatedly coated with mud. They’re lightweight, breathable, and super comfortable. For lightweight and breathable hiking tops I’m a big fan of both the Patagonia Capilene Shirt and the MEC Core Shirt. My Arc’teryx Squamish Hoody shows up in a lot of my photos. It’s super lightweight and packable, and does a great job of cutting the wind while also being pretty breathable. I also have an Arc’teryx Atom Hoody and Arc’teryx Beta LT that I pull out for cooler or wetter conditions.
I hope you enjoyed this guide to hiking Broom Hill in the Sooke Hills on Vancouver Island! Feel free to leave any questions in the comment section below or to contact me directly via social media.